Showing posts with label Articles. Show all posts

Sunday, February 17, 2013

Less Mess Art

When I talk to people about digital vs. hands-on art journaling I almost always hear the same thing. People like art journaling digitally because there is no mess.  Such a shame, because I really feel that a part of the whole art journaling experience is to be elbow deep in paint, gesso, glue, etc.

Before we left our house in Arizona I loved getting up in the morning, pull on my paint stained clothes and go to my craft/art desk and dig in. Not worrying about if the paint spilled on the desk or spattered on my clothes. It was such a wonderful feeling to just lose one self in the art. Moving into an RV has really changed all that. Now my craft/art desk is also a dinner table. I only have a small space for clothes so had to eliminate much of my "painters" clothes. And last, we don't just have an unlimited source of water for cleaning.

Then, how do I do it? Carefully, very carefully. I do not use acrylics as much as I once did. Water colors are easier to clean up. If I use mist paints, I take it outside to the picnic table. And use a lot of little boxes to store my art supplies. One box is an assortment of my favorite pens, markers, etc. Another box is full of ziplock bags with various collage fodder sorted by type. I have many more larger tubs with paints and other supplies, but I only pull those out if I restock my little boxes or if there is a specific item I need that is not included in my small boxes. So when I sit down to art journal all I need is my two little boxes. If I along the way decide to use inks or any other specialty item I go get those from their storage, and then put them away as soon as I am done with them. Keeping clutter to a minimum.

For keeping clean, and easy clean up I use paper plates, plastic cups, baby wipes, paper towels, Q-Tips, wax paper, etc. I like to use these items because when I am done with my art I can wrap everything up and toss it in the trash can. Yes I know that is not very eco-friendly of me, but if the choice is to keep my sanity or saving the planet, well I choose my sanity, and this is (hopefully) just temporary.

I place the wax paper over my work space and tape it down with masking tape. Easy to remove and fold up without spilling anything and toss in the trash when done. I use the paper plates as paint palettes. I usually have two large plastic cups. One has a little water in it. Not a whole lot. Just for dipping my water-soluble crayons and such. The other cup I use for trash. Paper towels and baby wipes are used for constant cleaning and the used pieces are placed in the trash cup. Q-tips are great for smearing of glitter glues and such and totally eliminates the stray glitter from going every where.

For adding a lot of color to a page without the mess I use my water-soluble crayons, water color pencils, Inktense pencils, Bombay inks, and homemade color mists. I also use a lot of collage fodder (some printed from collage sheets, and some are originals), washi tape, and magazine clippings. For writing and detailed work I use a selection of cheap pens, coloring pencils and ink.

Art journaling with less mess can totally be done. With my setup I can clean up inside of 5 minutes. As long as I always put away what I pull out. And put it back as soon as I am done using it. Sort your supplies so the items you use the most are easy accessible, and the rest is sorted in ways where you can access it without much fuss.
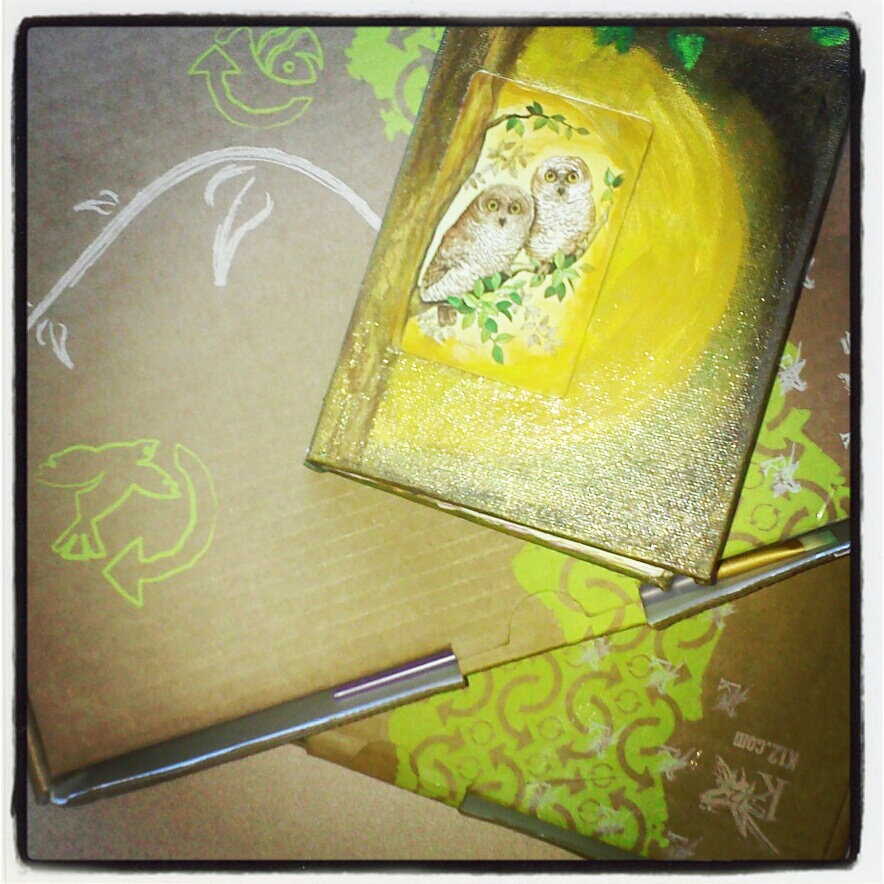

These are my two boxes. They can't hold a whole lot, but they are easily carried around to where I need to sit and do my journaling. The Journal on top is my doodle journal.
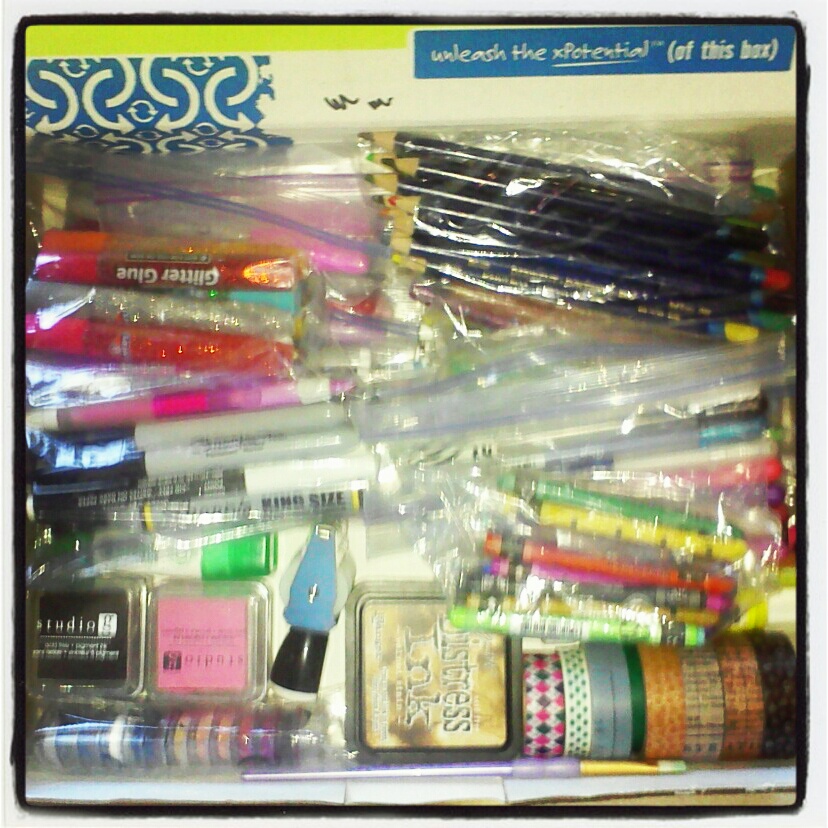

This is the content of my box of various supplies. The supplies that I use the most. I have a whole lot more, but I use these everyday.
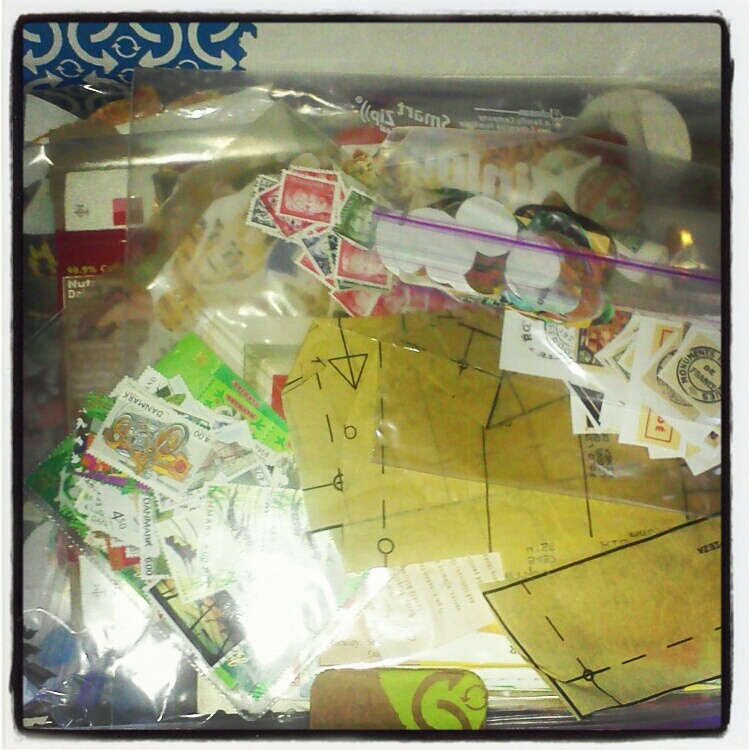

And this is my box of collage fodder. I use this a lot to add texture to my pages.

I hope that this little article will inspire you to try art journaling, even if you don't like the mess, or simple do not have room for the mess in your life. It can be done with both limited space and limited clean up.

Saturday, January 26, 2013

Make your own color mists...


I have been having some extra fun this past week playing with color mists and stencils. I saved some money by making my own mists and so far I feel they work just wonderfully. 
I know there are many ways to make your own mists, such as using water colors and acrylics, but I tried something I haven't tried before. Easter Egg dyes. A few years ago I bought a Easter Egg Dye kit. I never used it and when we were simplifying our lives to get ready to go on the road I threw out the whole kit except the little dye tablets. It had 5 little tablets: pink, orange, yellow, blue, and green. 
You can buy these little 2 oz finger tip sprayers for about a buck. Fill them about halfway with water and drop a tablet in. Shake well and you are ready to go. You can add more or less water depending on how intense you want the colors. I only had the one pack of tablets, but I plan on raiding the grocery stores once the Easter Egg Dye kits hit the shelves again. 

For stecils I used a few found and a few bought. Alphabet stencils are always fun and make for a cool prepared background. And of course sequin waste looks great on almost any page. My favorite stencils though are the found ones. I like to use plastic canvas, especially the circles. Those are fun and if you layer them you can get some cool effects. This week I also used some of my many silk flowers. Pull them apart so the leaves and petals can be flat on your paper and spray away. 

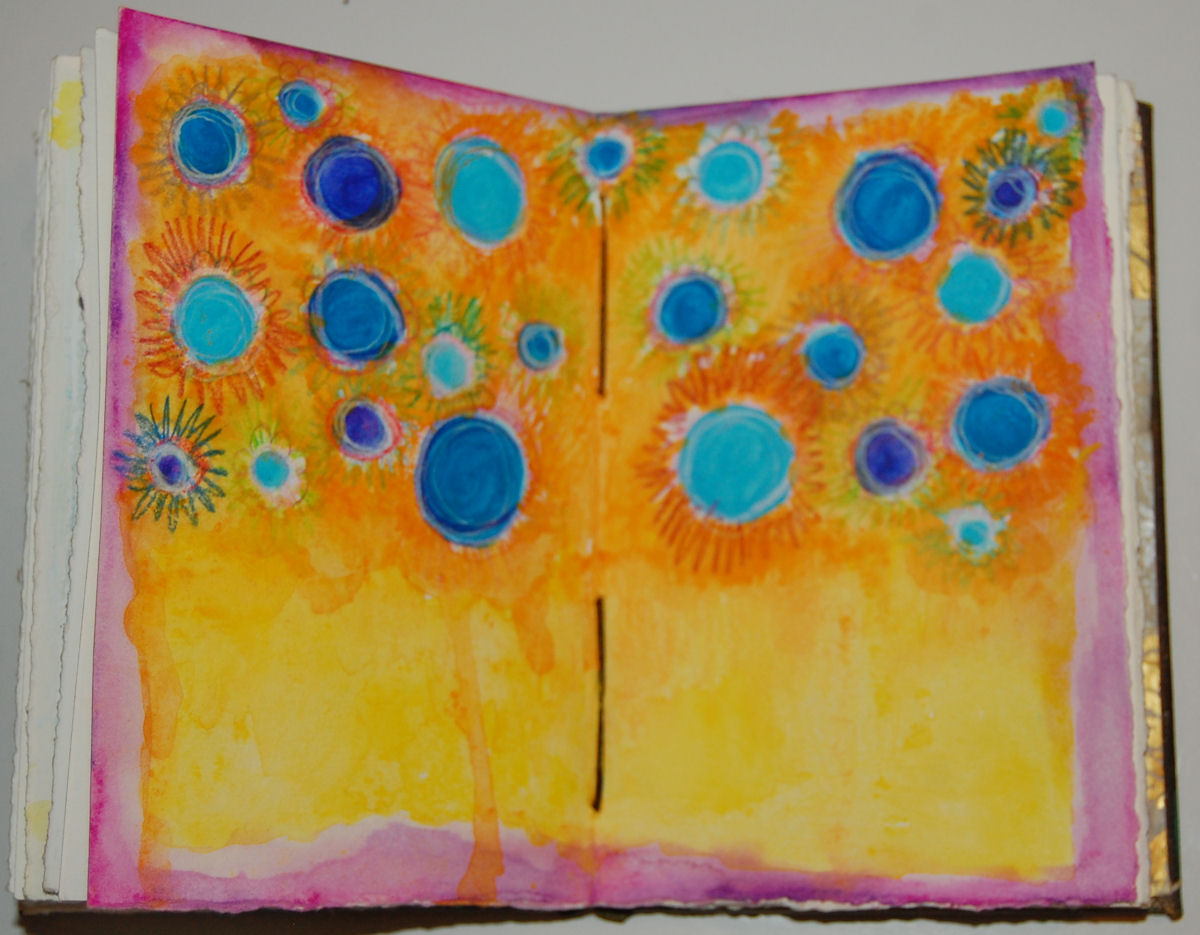
It the photo at the top I used silk flower petals. I first layered a few different flowers and sprayed with the blue mist, then removed the petals and added a few sprays of pink and yellow.

Here are a few more pages that are now ready for more fun (collage, paint, journaling, etc).


Do you make your own color mists? Want to share your recipe? Please feel free to leave a comment, we would love to hear from you!


Thursday, July 5, 2012

White Page, No More!

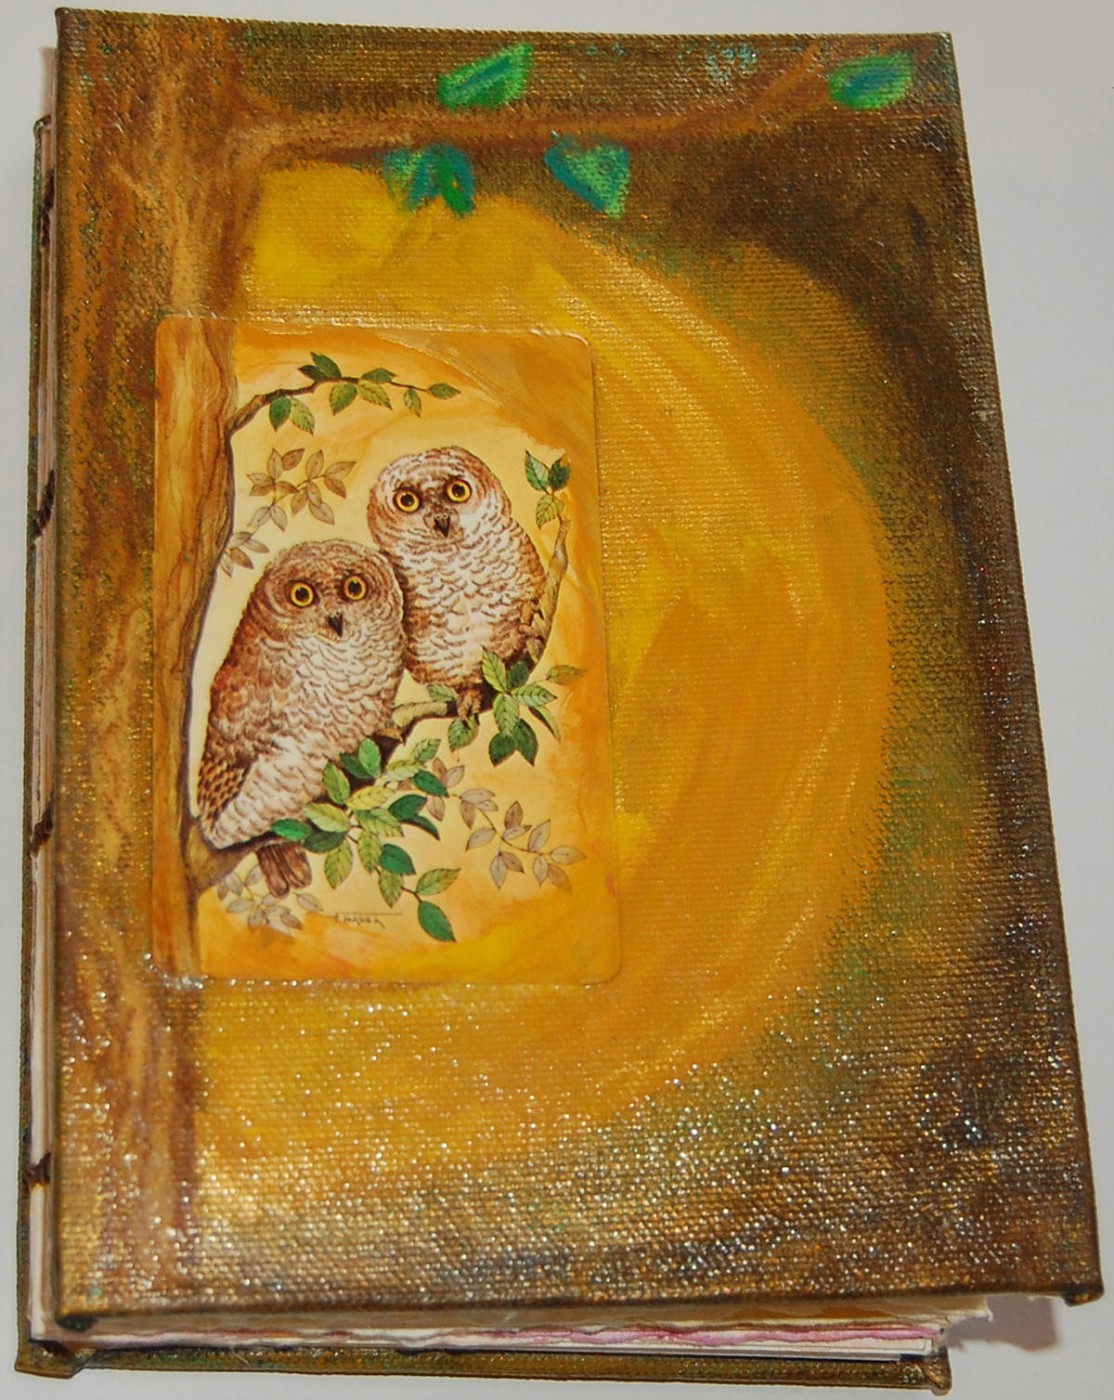
A few months ago I splurged and spend way too much money on a journal. I think buying that journal was the last straw. The price tag said $70 for this tiny 5x7 inches journal. I bartered a little with the seller and got the price down to $50. Yes I really liked the journal.

So I get the journal in the mail and it is just so pretty. The cover is gorgeous and the pages are all so pretty white. How am I supposed to start splattering paint in this pretty book? I just couldn't do it. It was sitting here on my desk with it pretty cover and white pages, just mocking me. I couldn't do it!
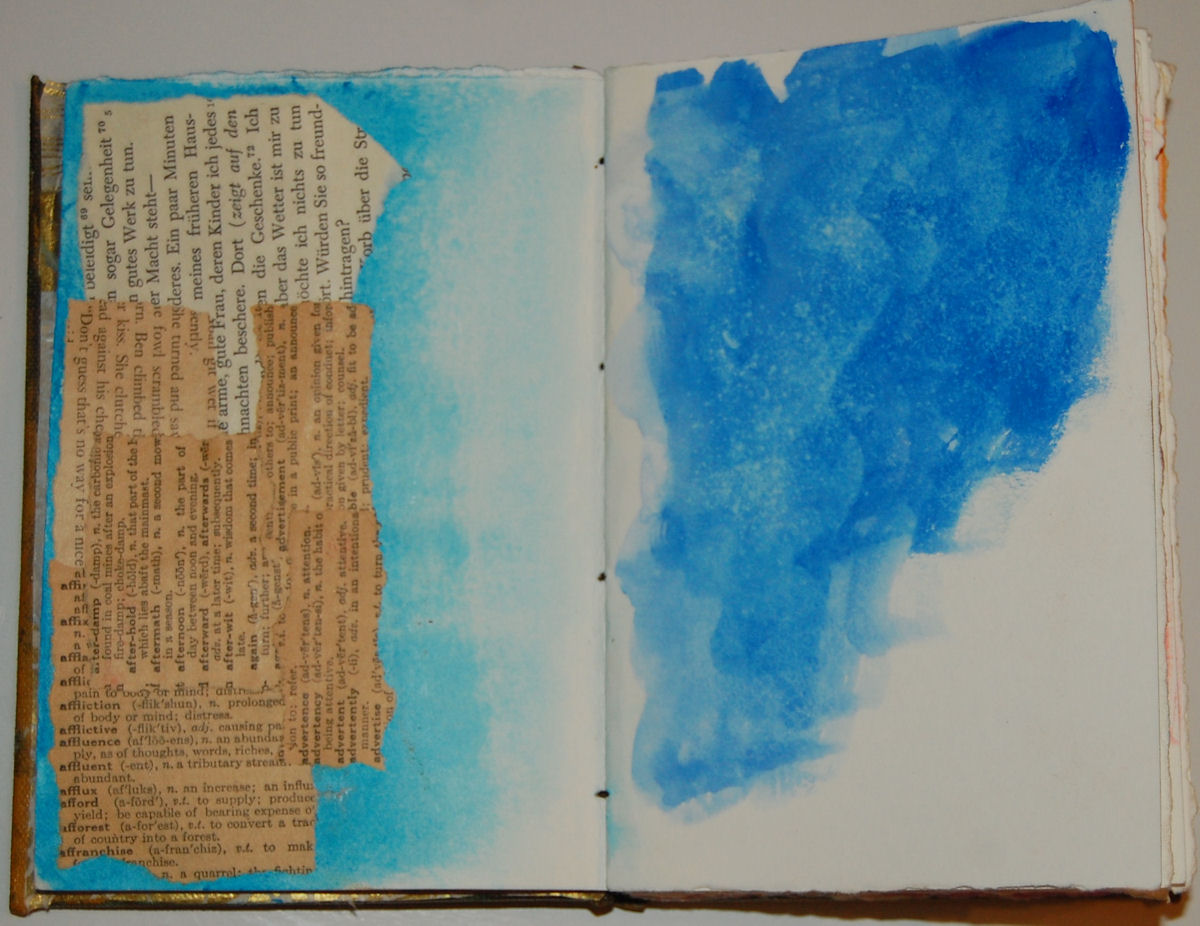
Then one day I needed to test the pigments in some watercolor pencils and I just grabbed the book, opened to a random page and started making little colored squares. I thought for sure that I had gotten past my "white page block". No, I still couldnt get started. Now I had a pretty book, with pretty white pages, plus one page with neatly drawn colored squares. A couple more months went by and I decided that I just couldn't let the book just collect dust. So I took it out, and just started gluing collage pieces in. It felt really good. And then I started adding color. Felt even better. And then I needed to test a few products, so I did that in the book too. It has sort of become my test book. Who would have thought that a $50 book would become my go to book for testing art supplies.
I am posting some pages below for you to see. It is just to get past those white page. Maybe you have a book you want to journal in but just can't. Try using it to test your paints, colors, markers, and glue. Now I really think this book has become an ART journal. Finally!

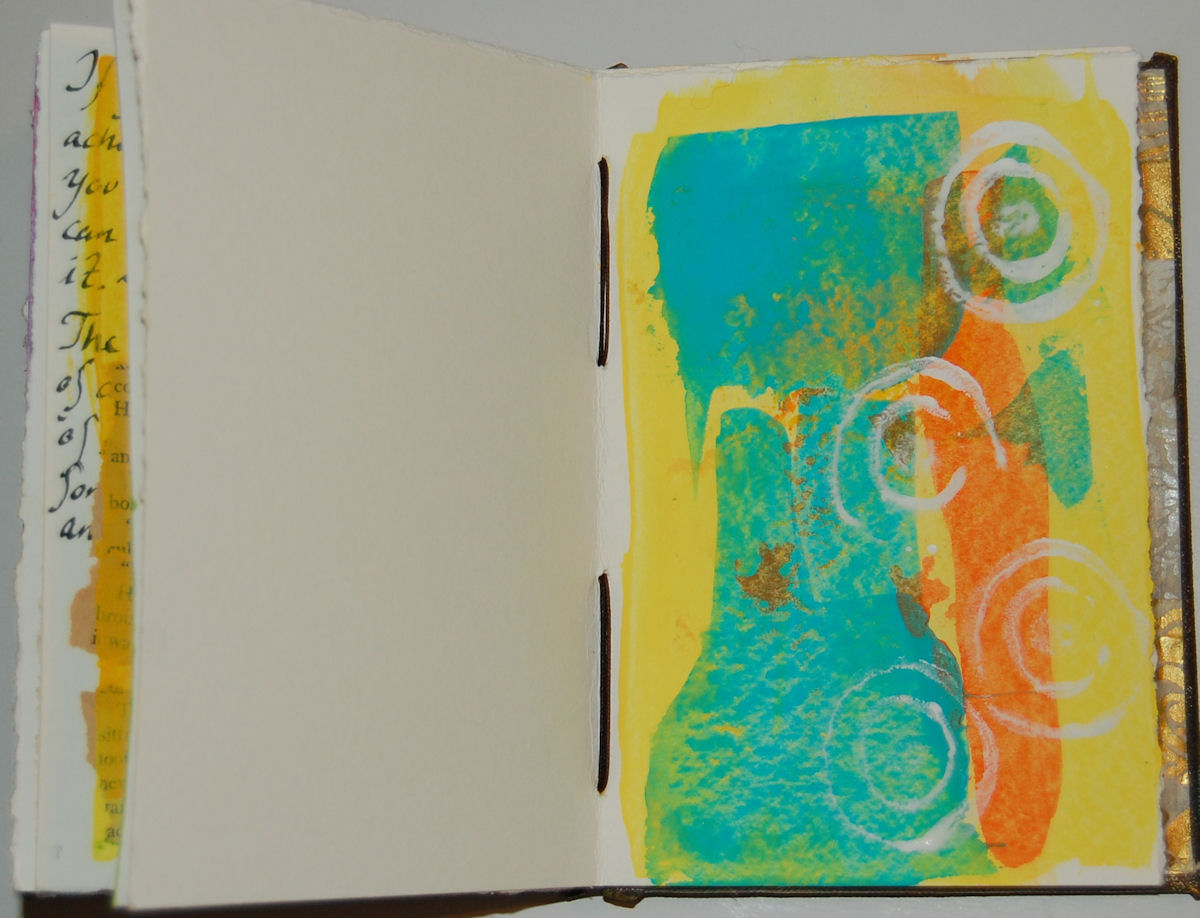
On these pages I tested come gouache colors. The left side was done several days prior to the right side. The right side I was trying to see what effect alcohol had on gouache.

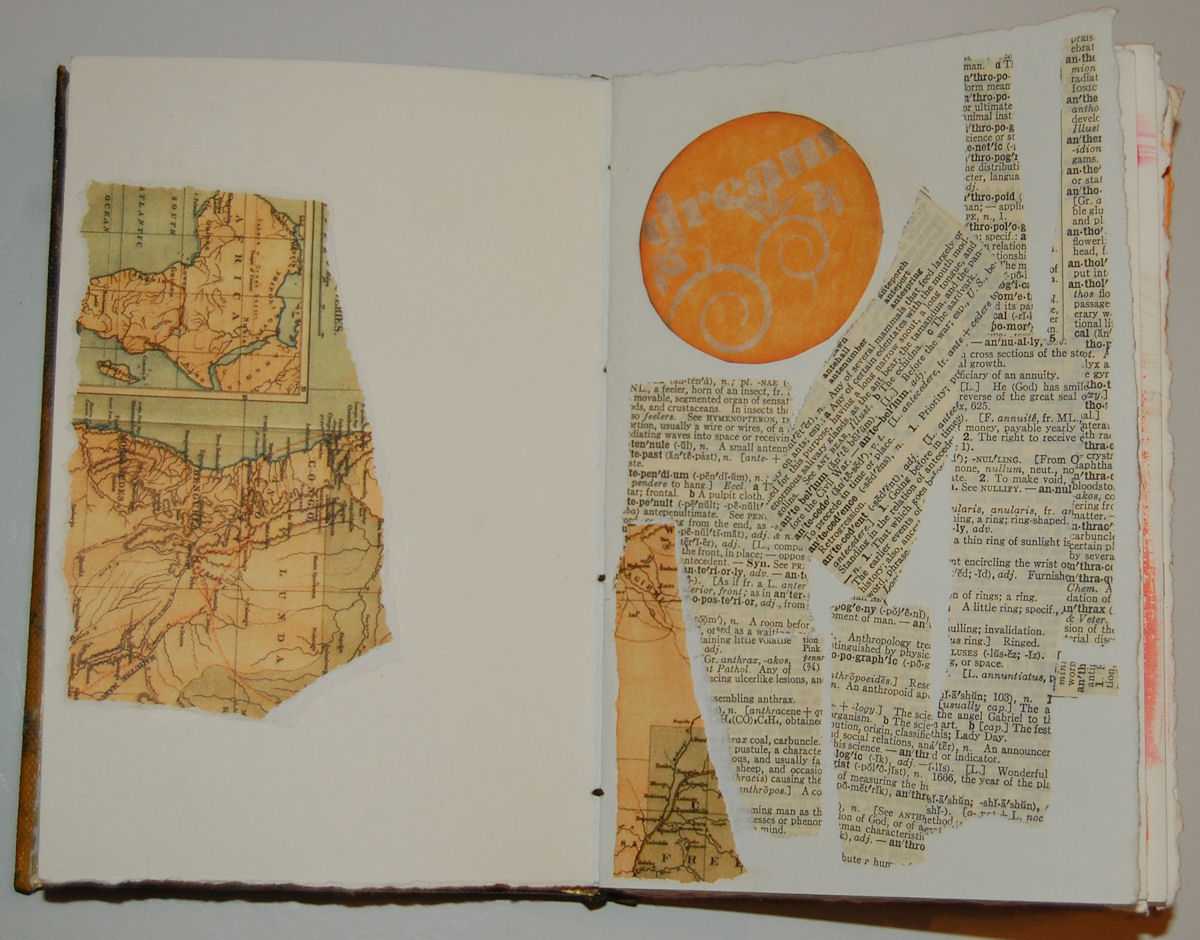
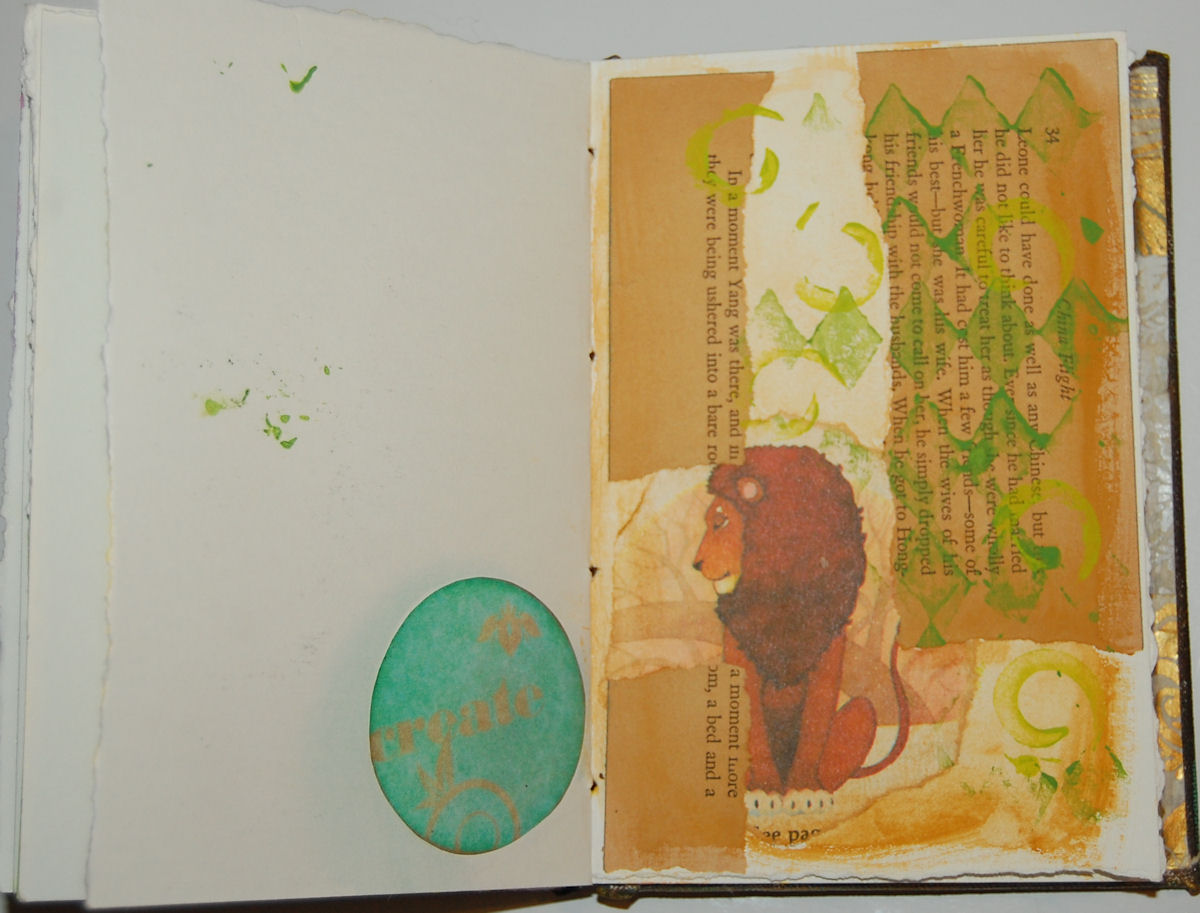
Left over collage pieces from another project. Instead of putting them away, or tossing them, I just decided to add them to my "test journal".

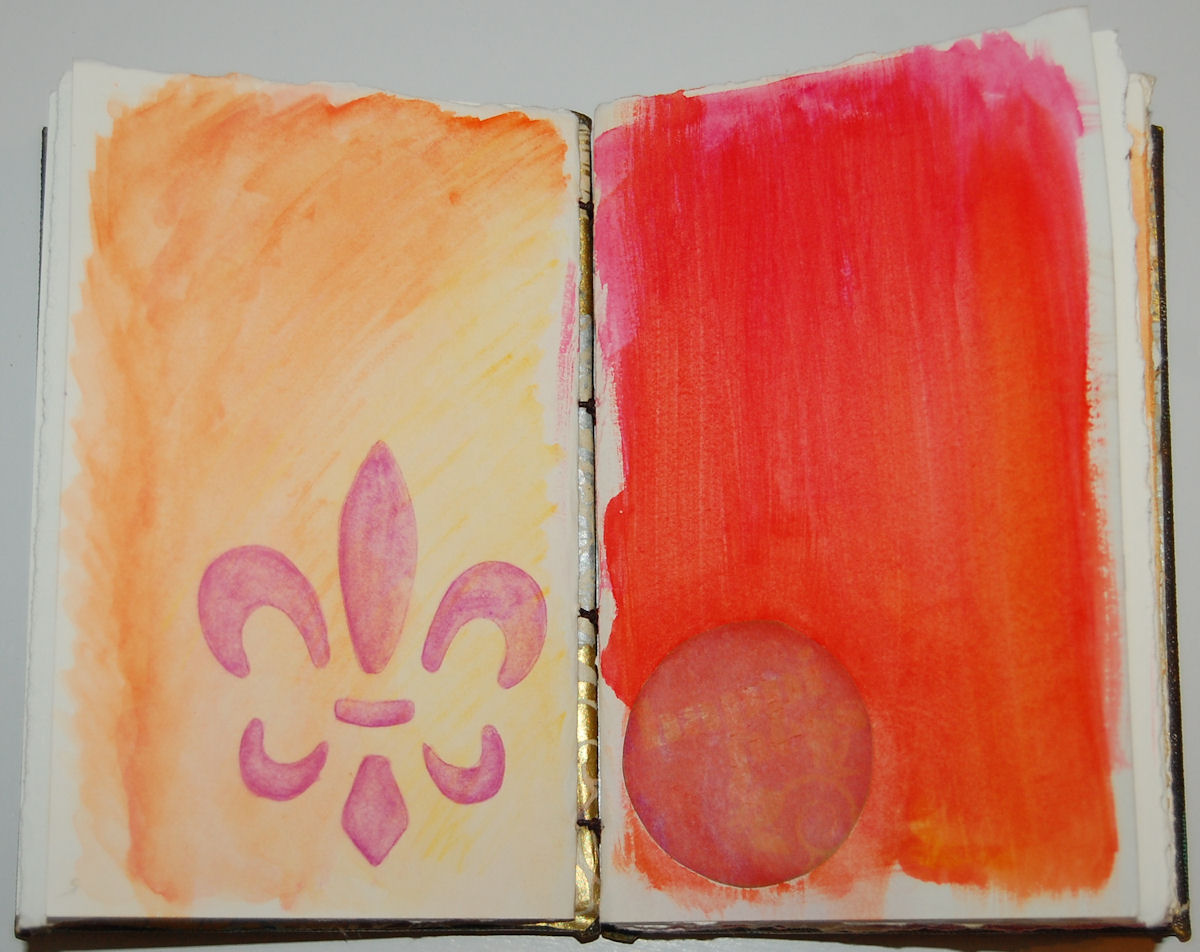
Left side is Inktense, and a stencil I had just found and wanted to test. The right side is more gouache colors.

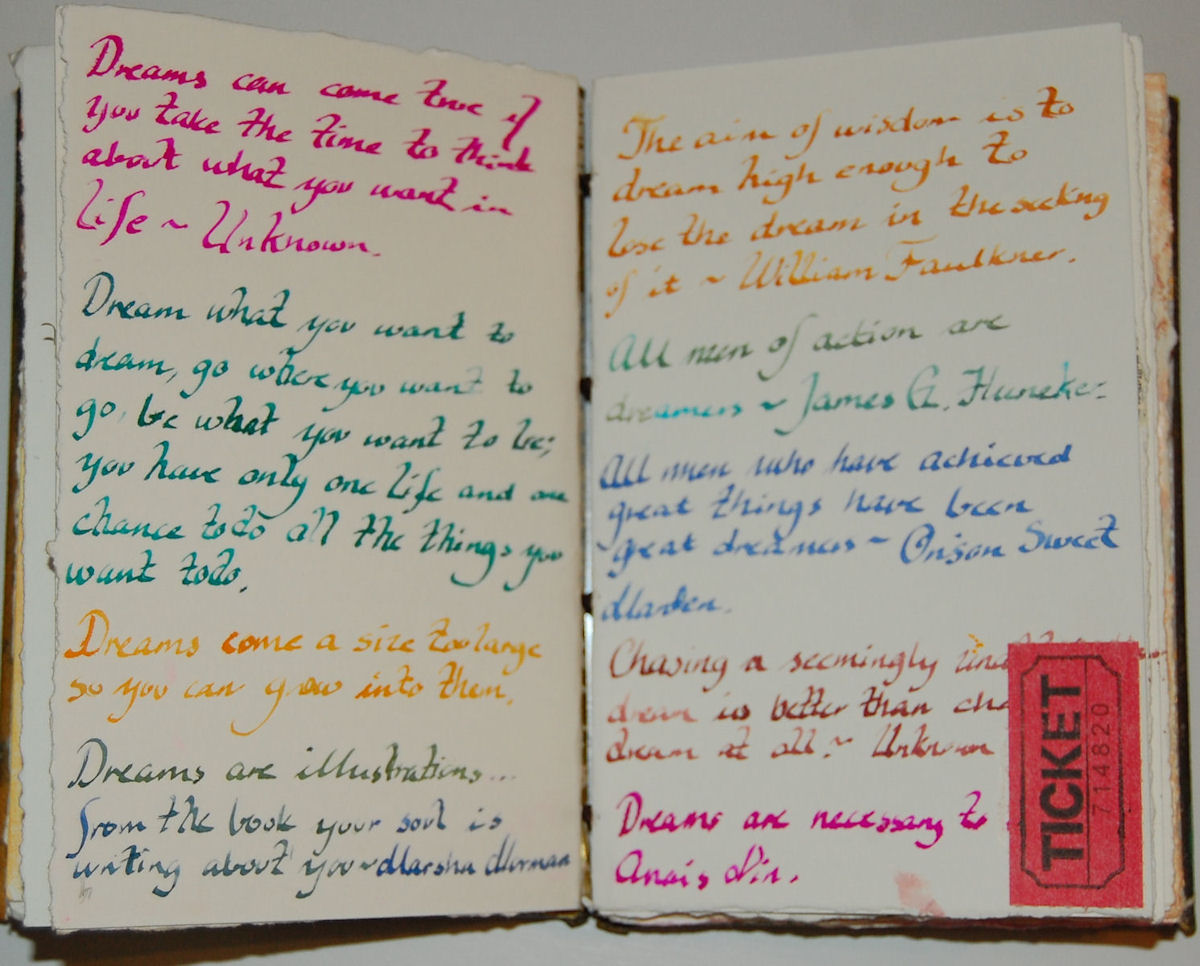
Here I had bought a set of colored tinting pigment and wanted to test the intensity of the color. I used a glass nib to write with the pigment tint. And then there was a ticket left over from another project.
This page will most definitely be painted over at some point, but it is fun knowing what is below all the layers.

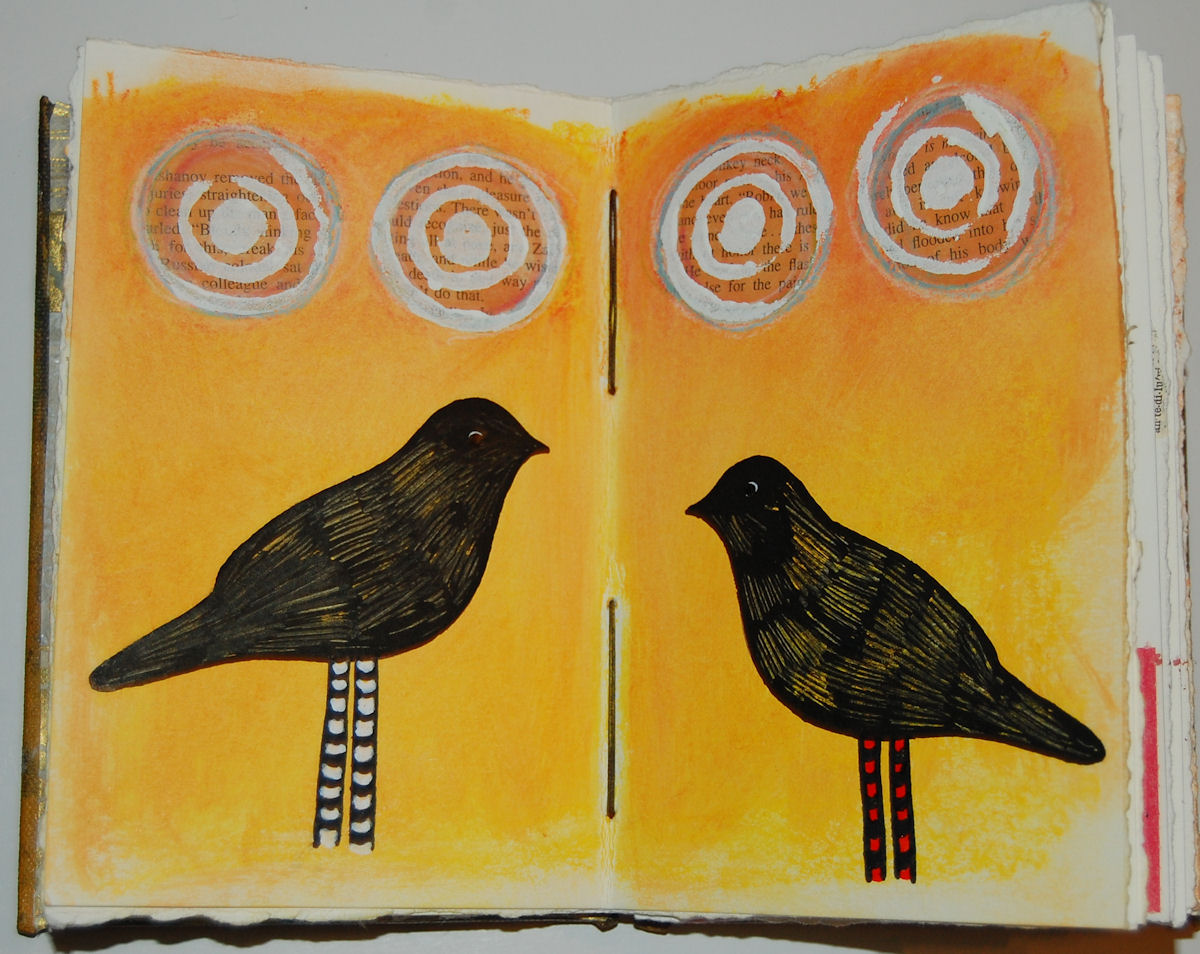
The right side is actually a finished journal page. Amazingly, I do have several finished pages now in this journal.
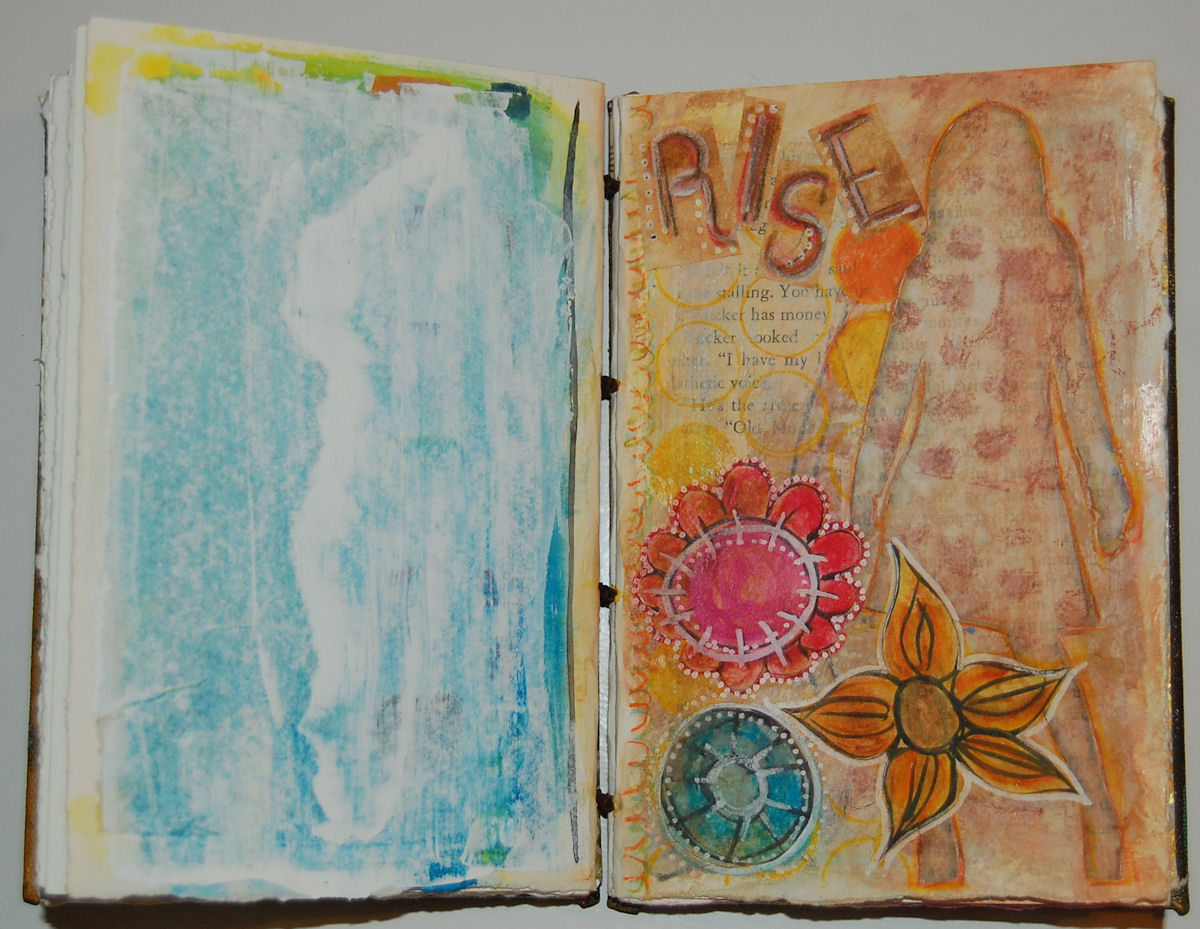
The left side is the one that got me started. It is the page with all the pretty colored squares. Yeah you can't tell, but they are down there. After I finally got started adding color to the book I painted over the squares with water color. Not a great idea, cause the squares were watercolor pencils. So the colors started turning to mud. So I added some collage pieces from some old books. Then some gouache color. Now the colors are just mud. I painted over with a little blue acrylic, and then scraped white paint (gesso) on with a plastic card. It is now completely ready to be made into an art journal page.

More watercolors and markers.

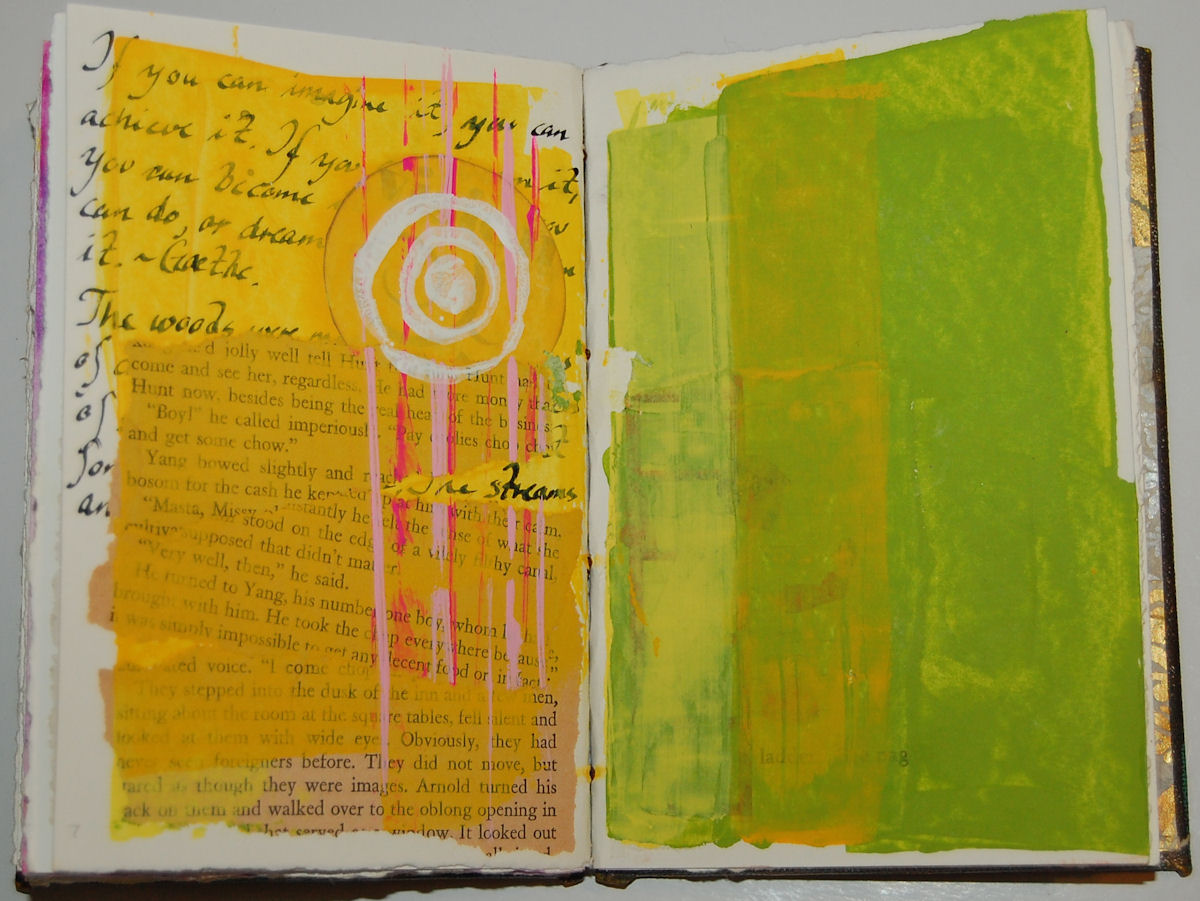
The left side: I tested some black ink, then I added left over collage pieces. Then I was testing two different yellow acrylics. (Found that neither of them was what I was looking for). Then I added some paint scratches using acrylic paint on the edge of a plastic card. And last I had some white paint on a homemade stamp and is stead of wiping it off I decided to use it here.
The right side: Testing the same two yellows when painted on top of green.
Both pages are ready to be used for art journal pages. Either as is, or painted over ... again.

More paint testing and left over stamp colors. This one I painted blue and orange acrylic, then yellow gouache.

Left over collage pieces. Then some tan gouache color and then testing homemade stamps.

This is the page I am working on now.

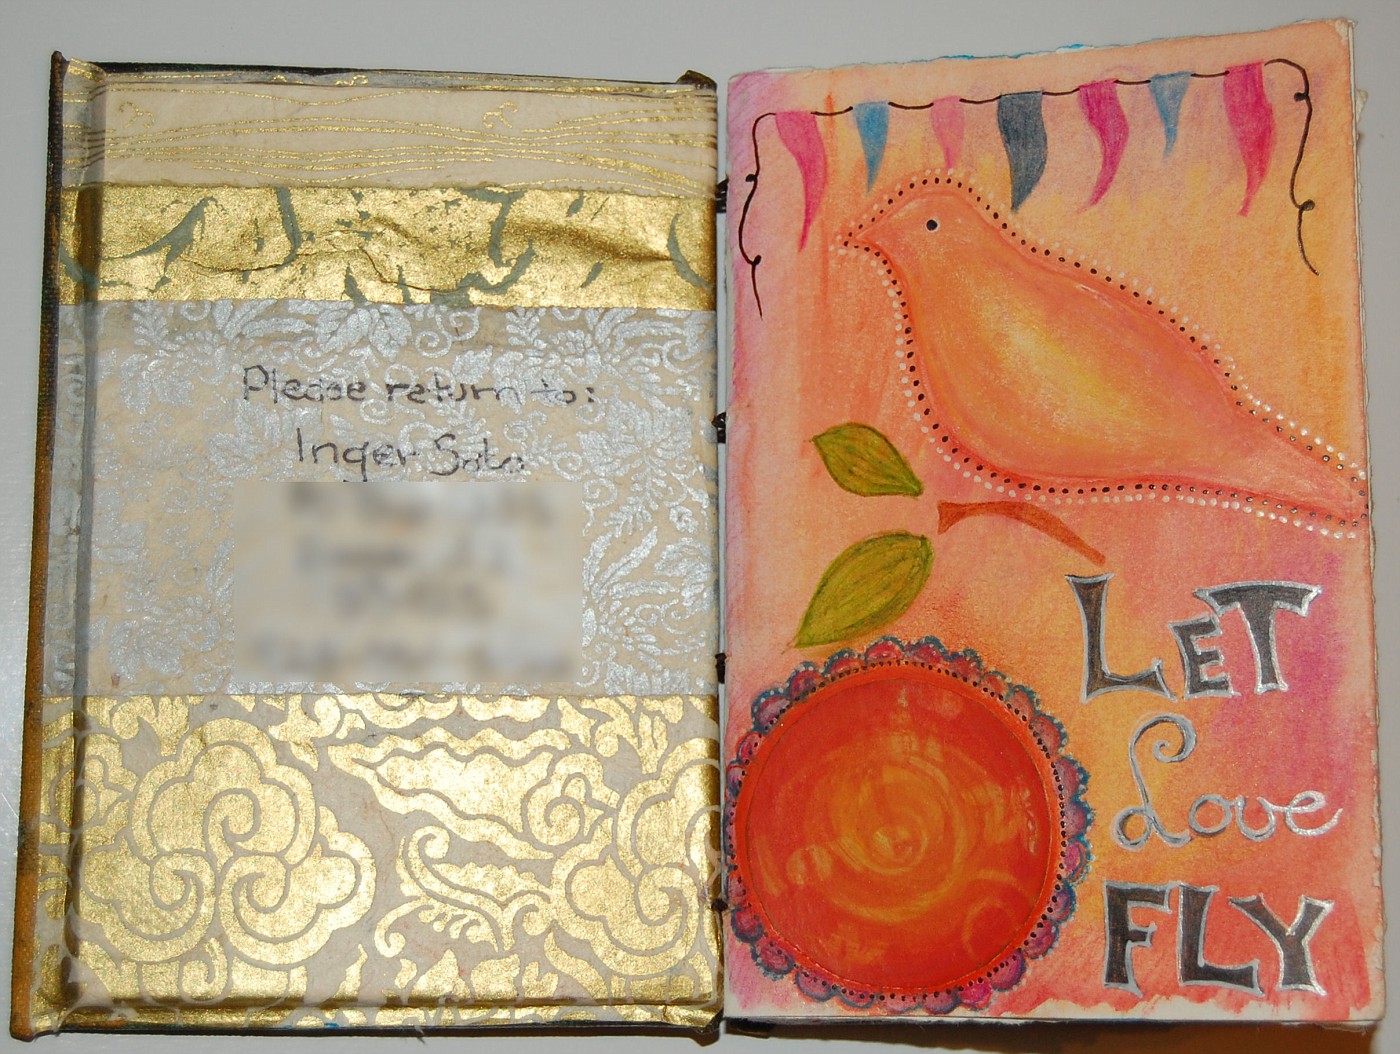
This was the first page I finished in this journal after I started adding color. I love that bird template.

So as you can see I got past my "fear" of white pages. At least in this journal. I do have a couple of other journals that are still full of white. But I have also decided not to ever again spend so much money on a journal. First of all, it is not about what the journal looks like. You can just a simple journal and then add your own color to the cover, or you can use lose leaf paper and add them to a simple ring binder. It is never about the journal, but it is all about the journey to get where you want the pages to take you.