Showing posts with label Supplies. Show all posts

Sunday, February 17, 2013

Less Mess Art

When I talk to people about digital vs. hands-on art journaling I almost always hear the same thing. People like art journaling digitally because there is no mess.  Such a shame, because I really feel that a part of the whole art journaling experience is to be elbow deep in paint, gesso, glue, etc.

Before we left our house in Arizona I loved getting up in the morning, pull on my paint stained clothes and go to my craft/art desk and dig in. Not worrying about if the paint spilled on the desk or spattered on my clothes. It was such a wonderful feeling to just lose one self in the art. Moving into an RV has really changed all that. Now my craft/art desk is also a dinner table. I only have a small space for clothes so had to eliminate much of my "painters" clothes. And last, we don't just have an unlimited source of water for cleaning.

Then, how do I do it? Carefully, very carefully. I do not use acrylics as much as I once did. Water colors are easier to clean up. If I use mist paints, I take it outside to the picnic table. And use a lot of little boxes to store my art supplies. One box is an assortment of my favorite pens, markers, etc. Another box is full of ziplock bags with various collage fodder sorted by type. I have many more larger tubs with paints and other supplies, but I only pull those out if I restock my little boxes or if there is a specific item I need that is not included in my small boxes. So when I sit down to art journal all I need is my two little boxes. If I along the way decide to use inks or any other specialty item I go get those from their storage, and then put them away as soon as I am done with them. Keeping clutter to a minimum.

For keeping clean, and easy clean up I use paper plates, plastic cups, baby wipes, paper towels, Q-Tips, wax paper, etc. I like to use these items because when I am done with my art I can wrap everything up and toss it in the trash can. Yes I know that is not very eco-friendly of me, but if the choice is to keep my sanity or saving the planet, well I choose my sanity, and this is (hopefully) just temporary.

I place the wax paper over my work space and tape it down with masking tape. Easy to remove and fold up without spilling anything and toss in the trash when done. I use the paper plates as paint palettes. I usually have two large plastic cups. One has a little water in it. Not a whole lot. Just for dipping my water-soluble crayons and such. The other cup I use for trash. Paper towels and baby wipes are used for constant cleaning and the used pieces are placed in the trash cup. Q-tips are great for smearing of glitter glues and such and totally eliminates the stray glitter from going every where.

For adding a lot of color to a page without the mess I use my water-soluble crayons, water color pencils, Inktense pencils, Bombay inks, and homemade color mists. I also use a lot of collage fodder (some printed from collage sheets, and some are originals), washi tape, and magazine clippings. For writing and detailed work I use a selection of cheap pens, coloring pencils and ink.

Art journaling with less mess can totally be done. With my setup I can clean up inside of 5 minutes. As long as I always put away what I pull out. And put it back as soon as I am done using it. Sort your supplies so the items you use the most are easy accessible, and the rest is sorted in ways where you can access it without much fuss.
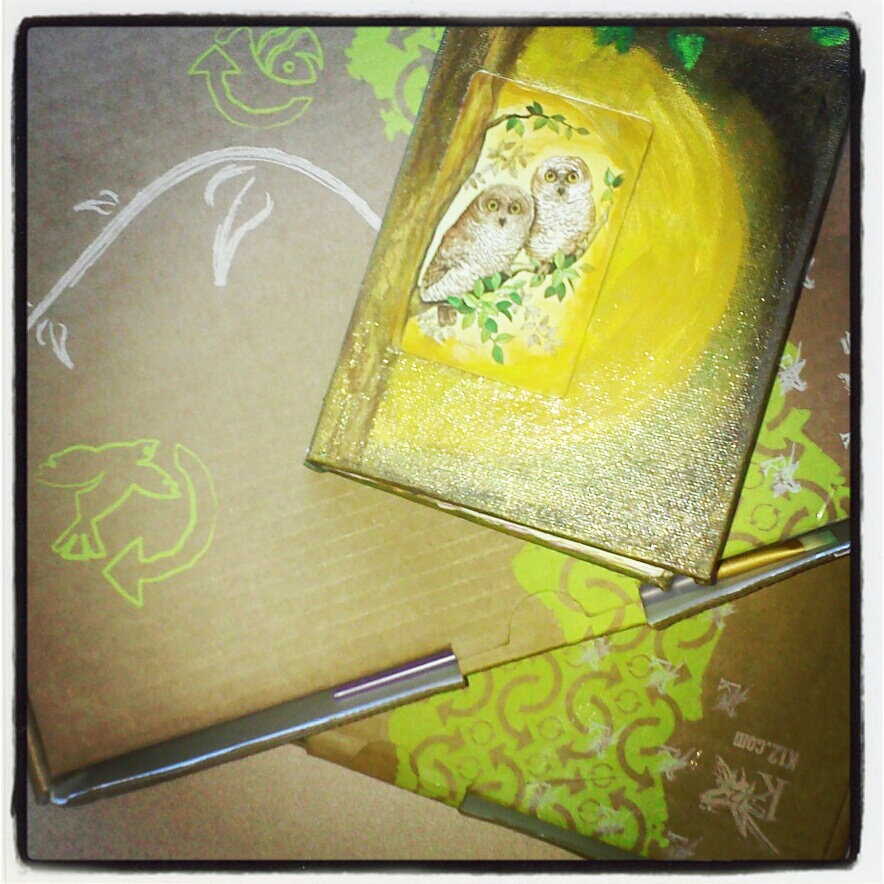

These are my two boxes. They can't hold a whole lot, but they are easily carried around to where I need to sit and do my journaling. The Journal on top is my doodle journal.
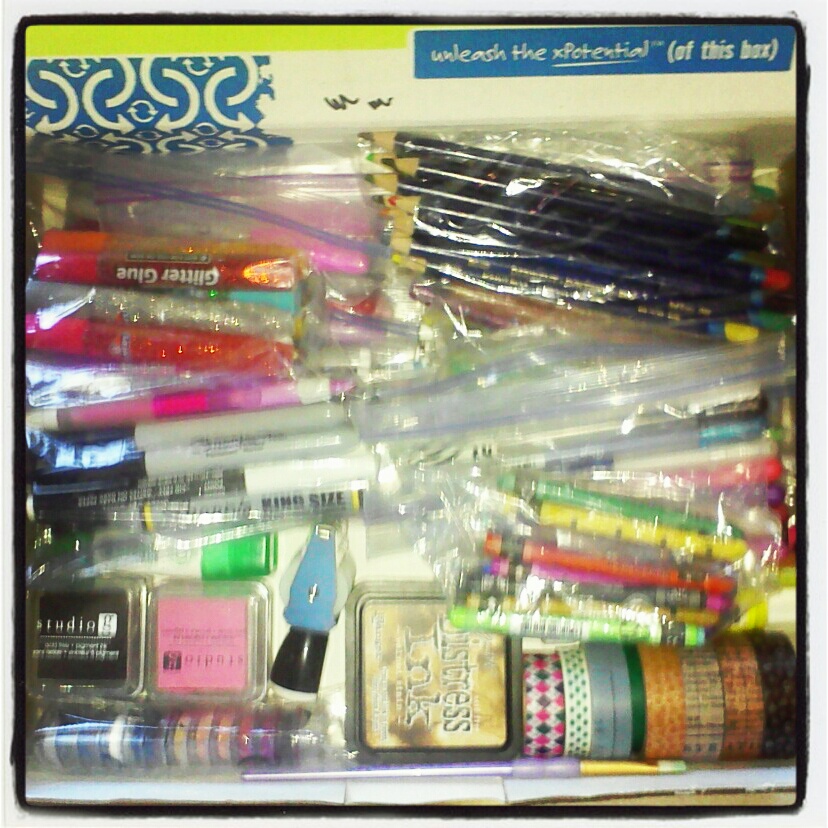

This is the content of my box of various supplies. The supplies that I use the most. I have a whole lot more, but I use these everyday.
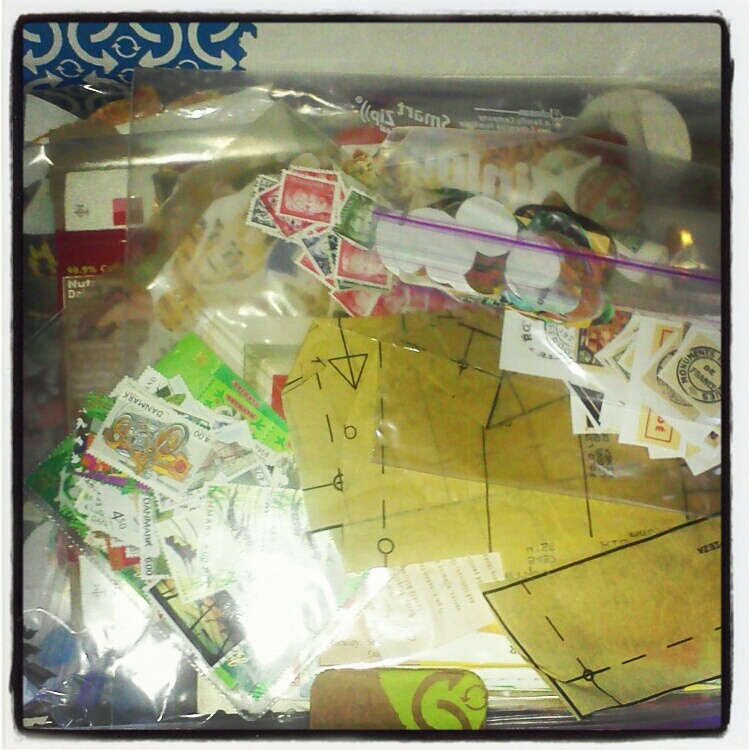

And this is my box of collage fodder. I use this a lot to add texture to my pages.

I hope that this little article will inspire you to try art journaling, even if you don't like the mess, or simple do not have room for the mess in your life. It can be done with both limited space and limited clean up.

Saturday, January 26, 2013

Make your own color mists...


I have been having some extra fun this past week playing with color mists and stencils. I saved some money by making my own mists and so far I feel they work just wonderfully. 
I know there are many ways to make your own mists, such as using water colors and acrylics, but I tried something I haven't tried before. Easter Egg dyes. A few years ago I bought a Easter Egg Dye kit. I never used it and when we were simplifying our lives to get ready to go on the road I threw out the whole kit except the little dye tablets. It had 5 little tablets: pink, orange, yellow, blue, and green. 
You can buy these little 2 oz finger tip sprayers for about a buck. Fill them about halfway with water and drop a tablet in. Shake well and you are ready to go. You can add more or less water depending on how intense you want the colors. I only had the one pack of tablets, but I plan on raiding the grocery stores once the Easter Egg Dye kits hit the shelves again. 

For stecils I used a few found and a few bought. Alphabet stencils are always fun and make for a cool prepared background. And of course sequin waste looks great on almost any page. My favorite stencils though are the found ones. I like to use plastic canvas, especially the circles. Those are fun and if you layer them you can get some cool effects. This week I also used some of my many silk flowers. Pull them apart so the leaves and petals can be flat on your paper and spray away. 

It the photo at the top I used silk flower petals. I first layered a few different flowers and sprayed with the blue mist, then removed the petals and added a few sprays of pink and yellow.

Here are a few more pages that are now ready for more fun (collage, paint, journaling, etc).


Do you make your own color mists? Want to share your recipe? Please feel free to leave a comment, we would love to hear from you!


Friday, June 8, 2012

Tea Dye

I love using old books for my collage fodder, and the older and more yellow/tan it looks, the better. However, it is usually pretty hard to find books like that around here. Usually if I just paint over the paper pieces it doesn't really matter, but once in a while I want the old paper pieces to show. So what do I do. Well, I could buy Distress Ink and/or Stain. But to be honest I don't like the result much, and the price is not for my budget either. So instead, why not use tea. Plain and simple tea.

There are so many different instructions for tea dye to be found online and it can get really frustrating when you try out several ways and nothing works. So I decided I would share with you a true and tried version of the instructions.

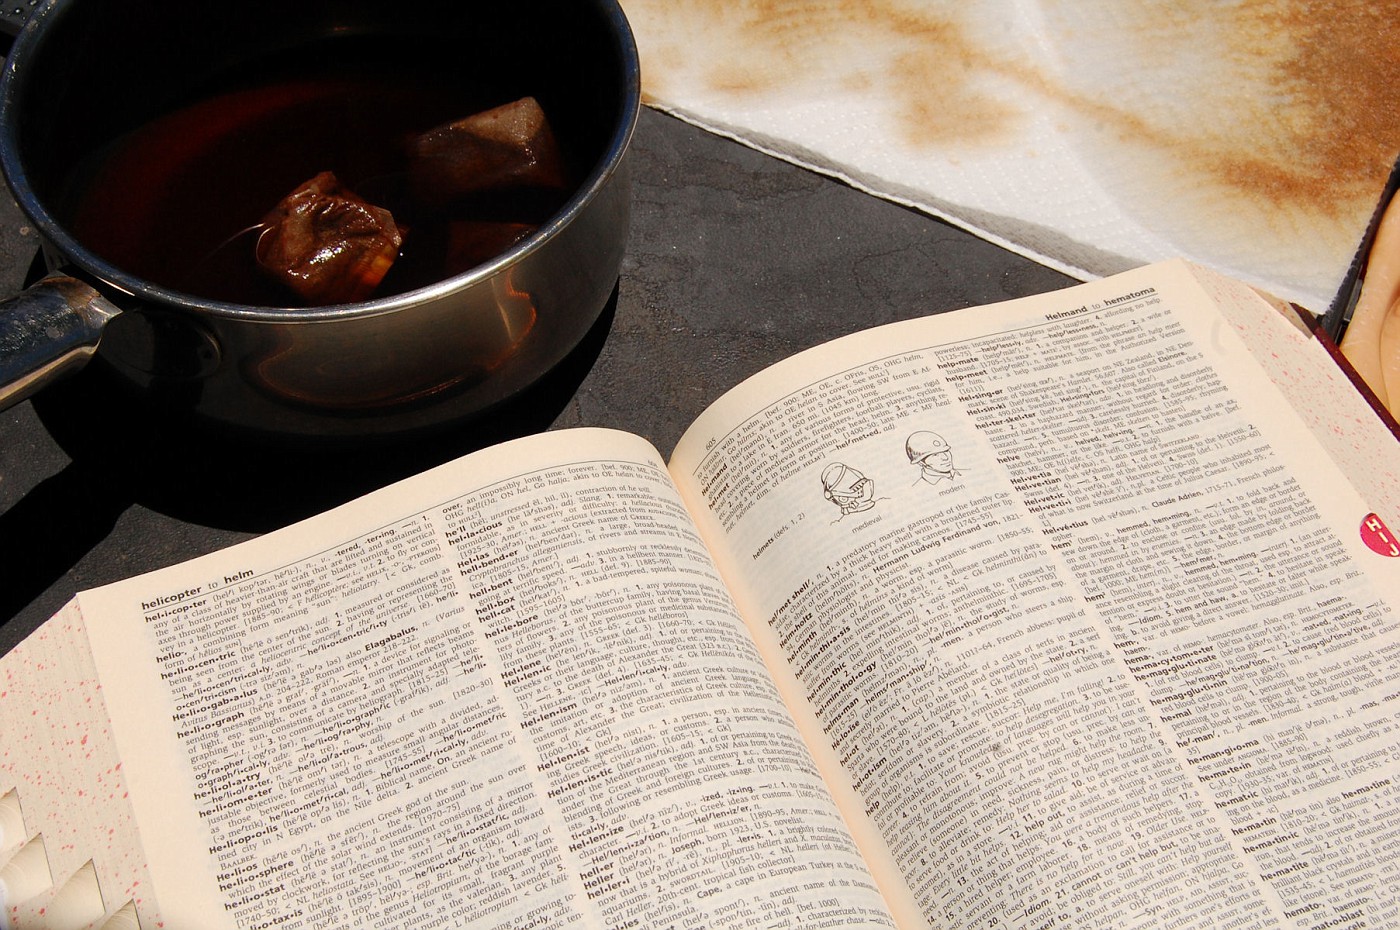
The tea I use is just plain tea. I believe the brand is Medova, but you probably can not get that in the US as it is a European brand. It is similar to a breakfast tea. So just choose a regular plain black tea. Add a couple of cups of water to a small pot and add 3-4 tea bags. Or brew the way you normally do. Let the tea steep for a couple of hours while the tea water cools. Leave the tea bags in the water.

Use book pages that are slightly porous, it will help the tea get absorbed into the paper.


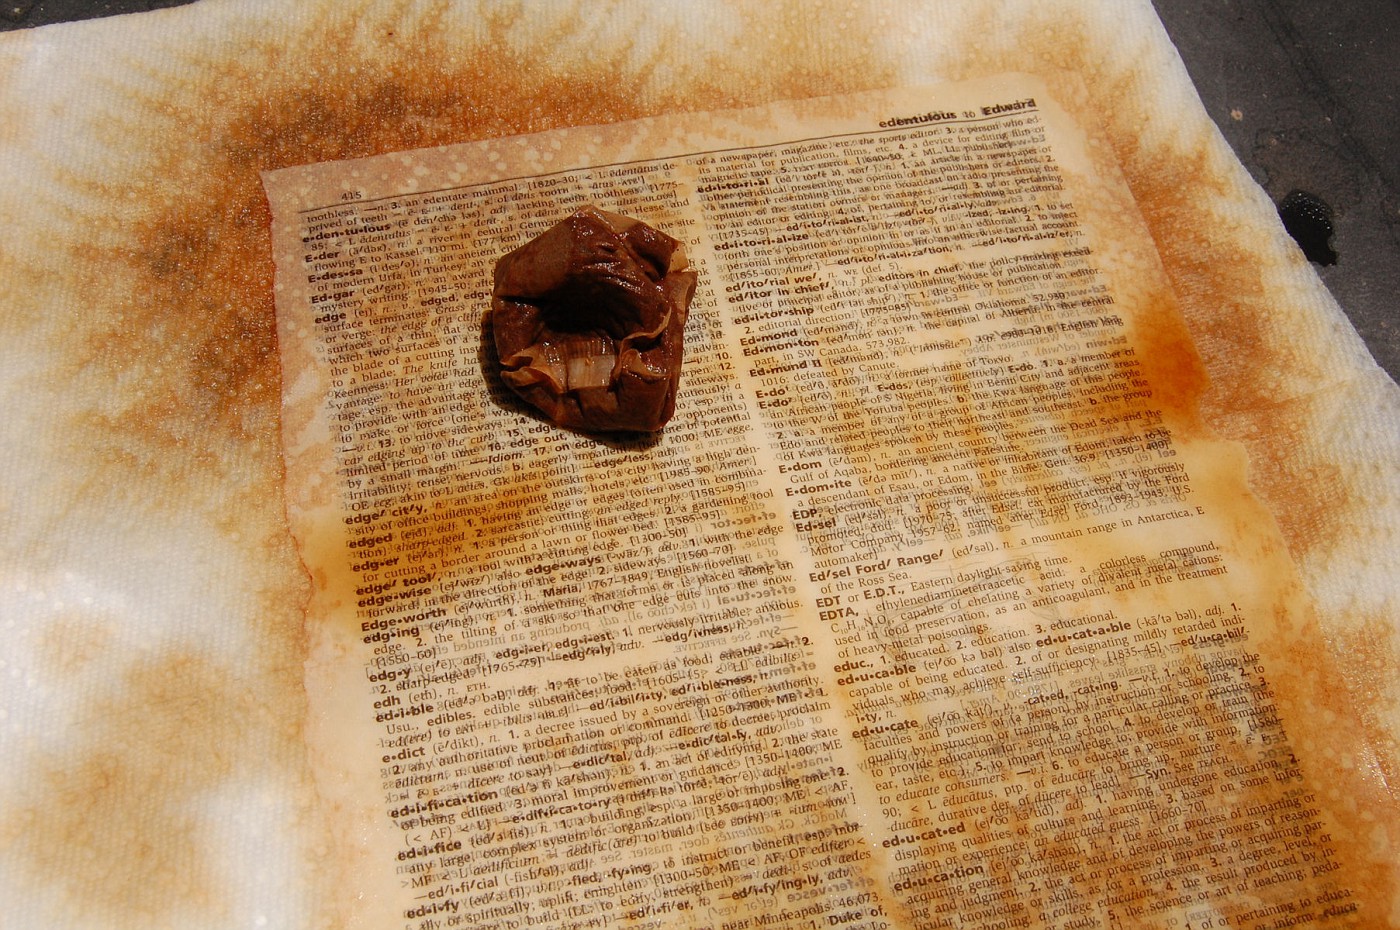
If you can, I suggest you stand outside. If not, then maybe add some paper towels to a baking pan so you do not get tea all over your table/desk. I stood outside with mine and used my composter as a table. I took a couple pieces of paper towel and put the paper I wanted to dye on top of the paper towels.


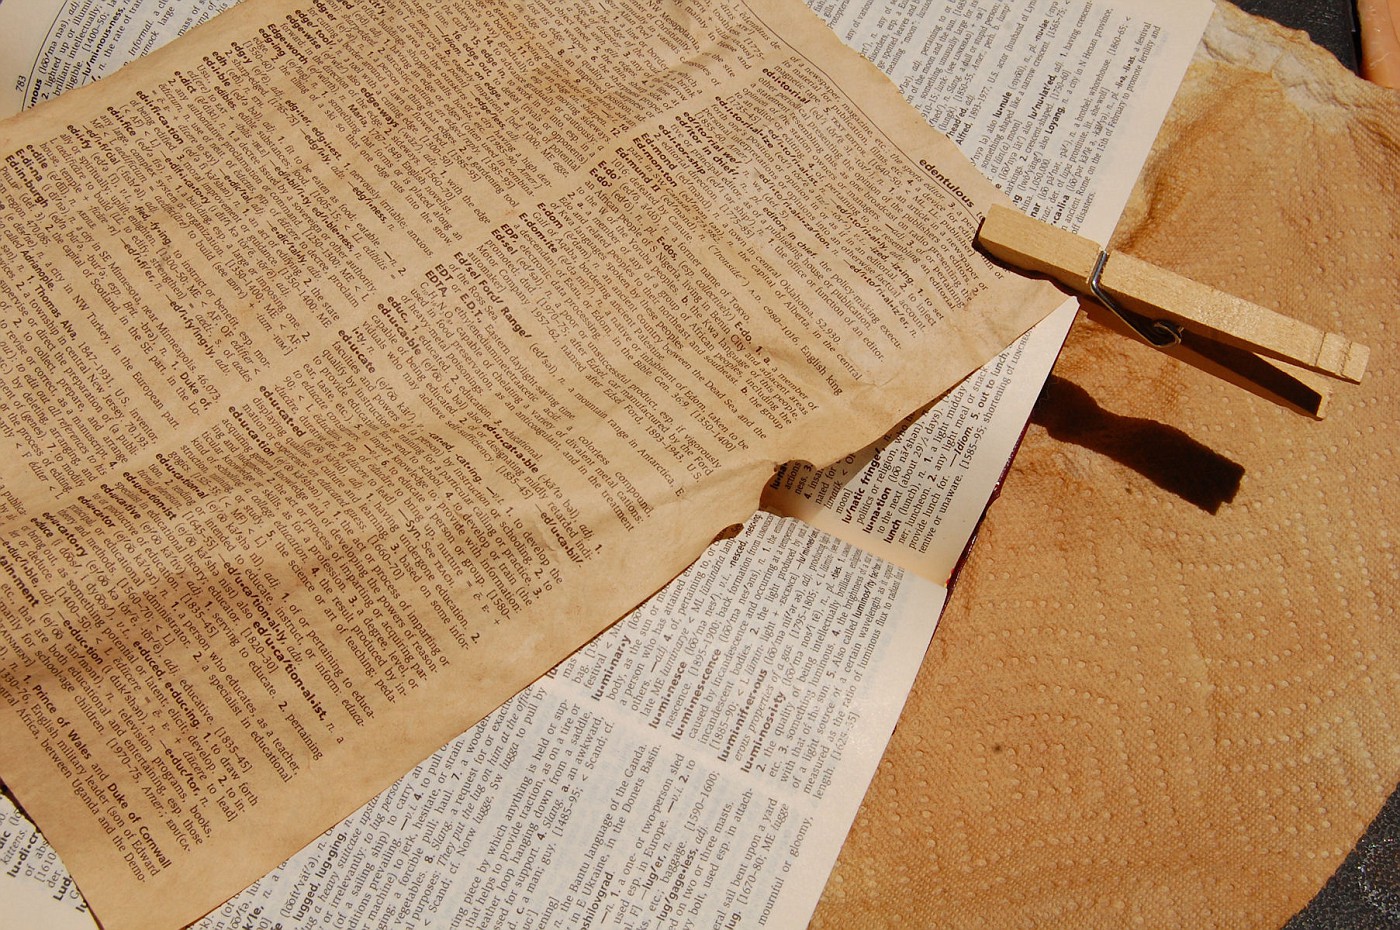
I then took the tea bag and used it as a sponge to "paint" the tea onto the paper. I then hung the paper on my clothes line with a couple of clothes pins. If you wait just a few minutes and let the tea sit a little in puddles on you paper before hanging it, you can achieve some cool color looks on your paper.
Hang your paper. Let it dry, and then repeat until you get the darkness of tea stain that you like.


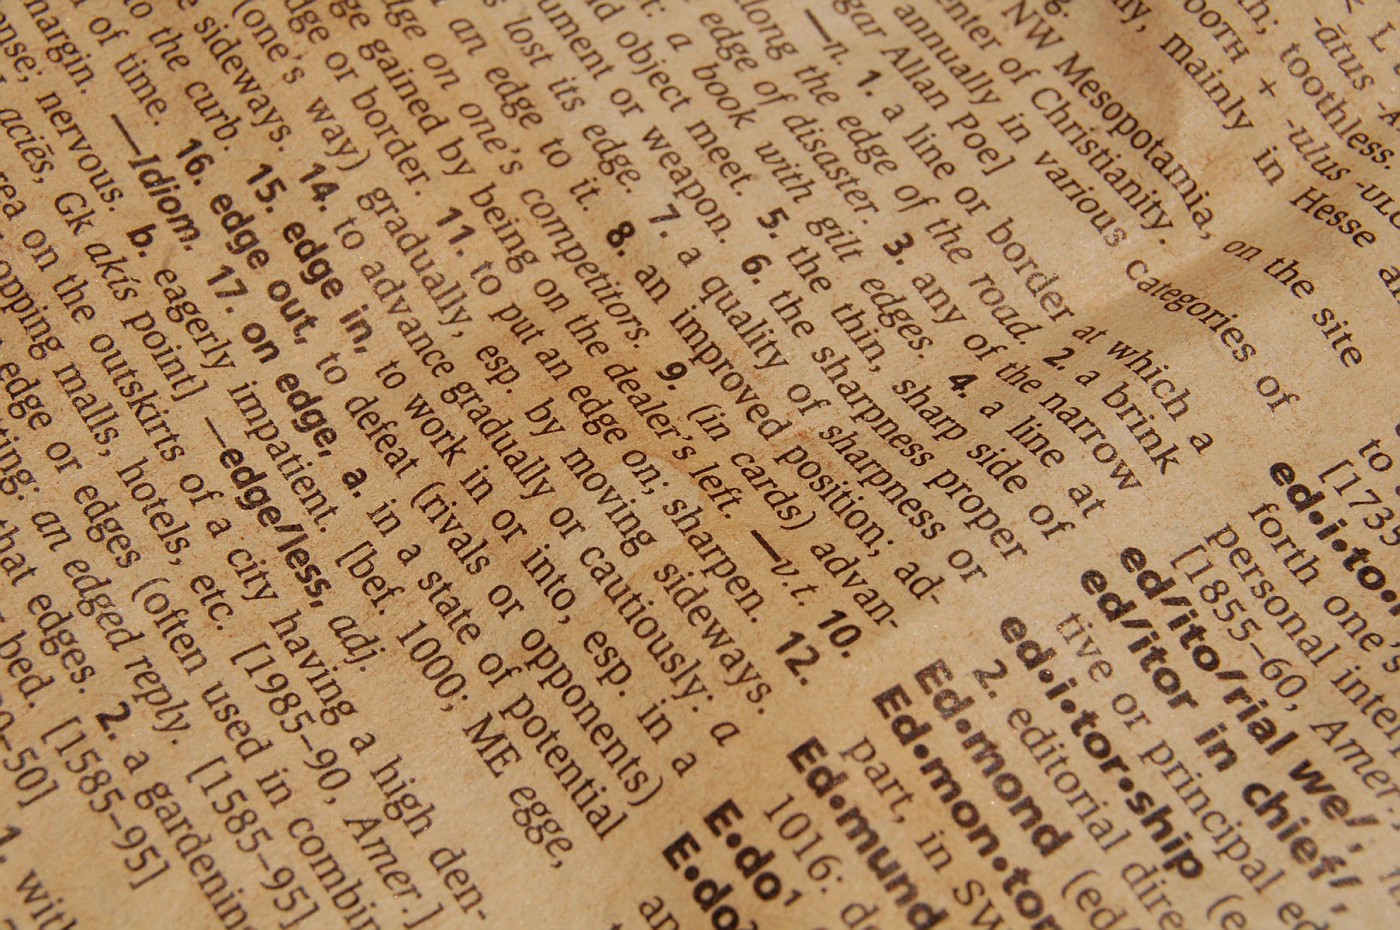
On this piece of paper I painted with tea three times. I think it turned out very nice and it looks almost like really old book pages.


As you can see in this picture I left a small puddle to soak before hanging it and it turned out like an old water stain. Just what I was looking for.

I suggested above to stay outside doing this as it will get messy. You should probably also wear gloves as it will stain your fingers really badly. And of course being outside you can easily hang the papers on a clothes line. It will drip so don't hang the paper indoors.

When I did these paper the other day it started out really nicely with about 90F degrees and no wind. By the time I was done the wind had picked up badly and I was having a really hard time working with papers outdoors. I am sure the neighbors had fun watching me.

I did try out various techniques before I decided this one was the best. Like dipping the paper in a pan of tea. It could work, but when I took the paper from the pan, the tea either rolled right off the paper, or the paper had become too saturated and fell to pieces. I also tried adding tea to a fingertip sprayer and sprayed the paper while it was hanging. I could not saturate it enough to actually leave any color in the paper.

You can also use this technique to add a little age to some ribbons and string. Take the ribbon you want to dye and crumble it in your hand then dip into the tea. Make sure you saturate it plenty, then hang it on the clothes line while still crumbled. Do not straighten the ribbon. When it is crumbled you will achieve more color in some areas than in others and it will look just like something you pulled out of Granny's attic.

DISCLAIMER: Tea stains! I am not to be held reliable for any stains on tile, clothing, or any other places you didn't want it.

Have fun!

Wednesday, June 6, 2012

DigitalCorner: Paperworn Art Styles

I rarely find anything when it comes to digital art journaling that I suggest for others or see as "must haves", except when it comes to Tangie Baxter's Paperworn Art Style. These styles for PS and PSE are truly essential to doing fantastic art journal pages digitally.
I would never tell you that you had to spend money on anything you don't want. But I am 100% certain that this is an investment you would not regret. Some of you probably already have this style set.


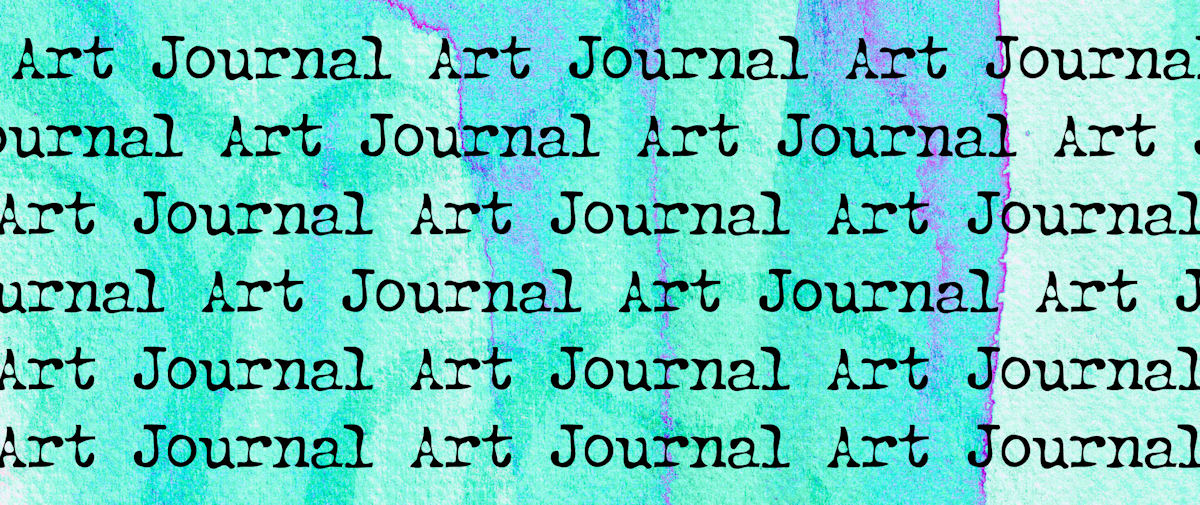
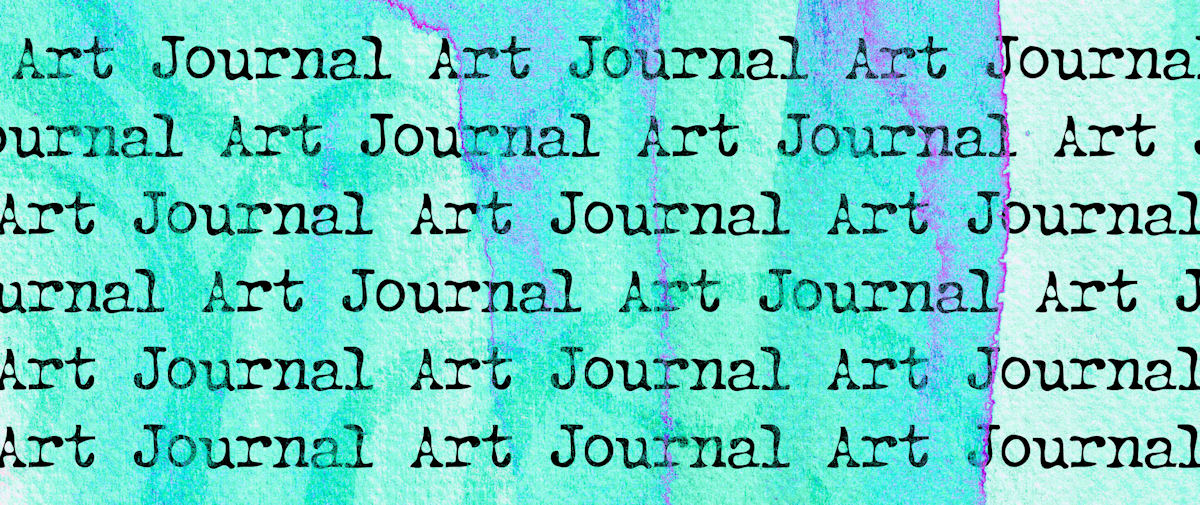
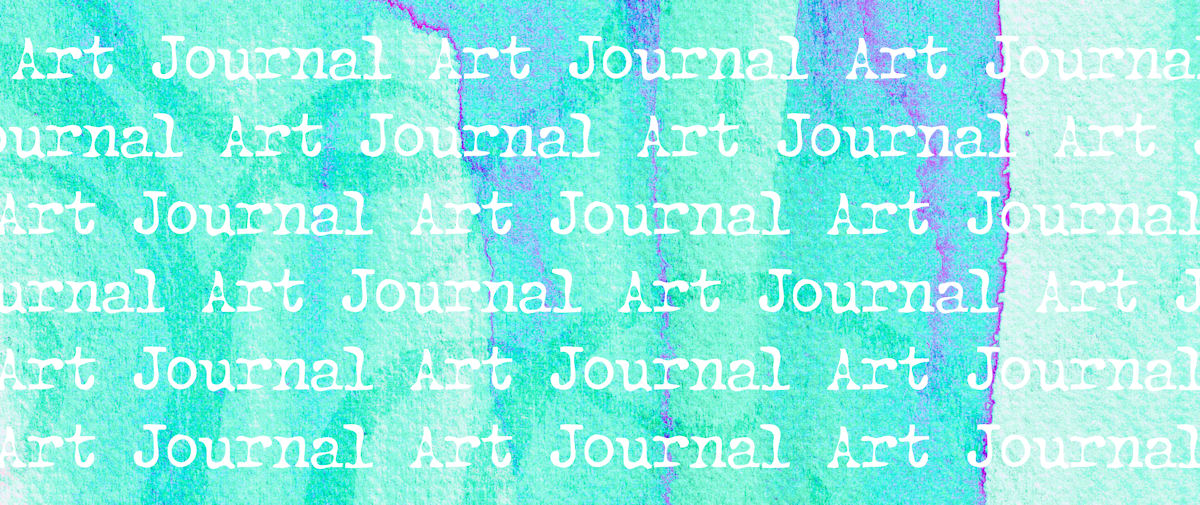
If you look at the black and white texts at the bottom of this image you can see that it looks like the text is applied on top of the painted background. This is just not realistic looking. If you then apply the style, you can see that the text blends with the painted background similar to what it would do in real life.

The style set comes with 7 styles and 1 action. I use PSE6 so can only tell you how well the styles work with my software. The action only works in PhotoShop, not PhotoShop Elements. The 7 different styles work differently depending on your background and the color of the layer you want to apply the style to. It is really just a question of trying out each one. Some times it doesn't work at all if the background doesn't have the right texture or color, but most times you will get some very nice effects. And it is not just for text. You can use it for any kind of element you want to add to your art journal pages. Of course to make it look realistic it works best for painted elements and background.

These styles come both as commercial use and personal use. If you purchase the commercial use set you can sell your derivative works. For example if you ever decide to make cards, or maybe sell your pages. If you purchase the personal use set you may not sell derivative works. Honestly I suggest the commercial use version. With the commercial use version you are always safe to use it. Both for selling your works and should you ever want to publish your pages.

Tangie Baxter's Paperworn Art Styles - Commercial Use version.
Tangie Baxter's Paperworn Art Styles - Personal Use version.

Without style:


With style:


Without style:


With style:


Sunday, June 3, 2012

Glue, glue, oh wonderful glue...


Glue is probably one of the most important ingredients in art journaling, altered art, well most crafts really. And yes you can use the cheap stuff here too. I have a couple of favorites, and I will tell you about them and you can try them out too.

Mod Podge vs. Gel Mediums.
I use Mod Podge for most of my glue needs. I use both matte and gloss, but for collaging I always use the matte variety. When you use Mod Podge you might want to move quickly cause it is water based and will dry quickly when you only apply a thin layer. Also I feel that the quicker I move the less bubbles wrinkles I will get. When I apply collage pieces to my art using Mod Podge I always use a plastic card to smooth the piece to lessen the chance of bubbles and wrinkles. Usually you can get 16 oz of Matte Mod Podge for around $6. No matter where you go. Walmart is usually a little cheaper than other places.
There are also several places online where you can get it at a discounted price such as Dick Blick or Create for Less.

I have been told by so many people that the only adhesive to use for art journaling (collaging) is Golden Gel Mediums. I recently decided that I should try it. So I spent $10.61 (+shipping) for 8 oz of Golden Soft Gel (matte).
Honestly I was not impressed. I don't feel it does anything that Mod Podge can't do. I actually got a little annoyed with it. You have to use so much more of it to make it really stick. And even after it is smoothed out with a plastic card it still leaves bubbles. It appears that the bubbles actually come from where there is no glue. So you have to be extra careful that you cover your area 100% with the glue.
If you must try it out, please just buy a small jar. 8 oz is the smallest I think. Compare the quality and quantity to how much you pay. I am sure Mod Podge will be OK for your projects.

Tombow Mono Multi liquid glue - I actually really like this glue, just not for collaging. It it permanent and sticks really great. It just stays tacky for so long. You will want to use this for adhering heavy items. For example if you add small pieces of hardware, silk flowers, etc. Just don't use it where the glue might be "showing", as in collaging, cause it will stay tacky for quite some time.
It has two applicators. One pen tip and one broad tip. I really like to use the pen tip to add just a dap of glue.
This product does contain Natural Rubber Latex, so not good if you have latex/rubber allergies.

UHU Stic - This is again one of those glue sticks that was recommended for art journaling and again I was not impressed. I also paid a lot more as I bought mine at Michael's. I honestly do not think it is worth the money. It tends to get "stringy", and then becomes a mess to work with.

Scotch Wrinkle-Free Glue Stick - This glue is worthless. Yes it is true that it is wrinkle free, but applying it is like trying to use hot string cheese.
I will not recommend this one.

Inkssentials Collage Glue Stick - I have just started trying this one out and I am actually quite impressed with this one. It has wonderful stickiness, and so far I have not had issues with it getting stringy. And it is priced perfectly at just $1.65 at Scrapbooking Warehouse.

So in the end I will recommend Plaid Mod Podge (Matte) and Inkssentials Collage Glue Stick. Both are reasonably priced and both gets the job done.
Of course I will suggest that you use up all the adhesive you have in the house before you go buy more, but keep these two in mind when the time comes.

I haven't tried out all the adhesives available, and I am sure there are many more out there that will work wonderfully. If you have a favorite glue, I would love to hear about it so I too can try it out.

Monday, May 28, 2012

Trash to treasure...

Trash to Treasure, or maybe we should make a new word and call it "Trashure".

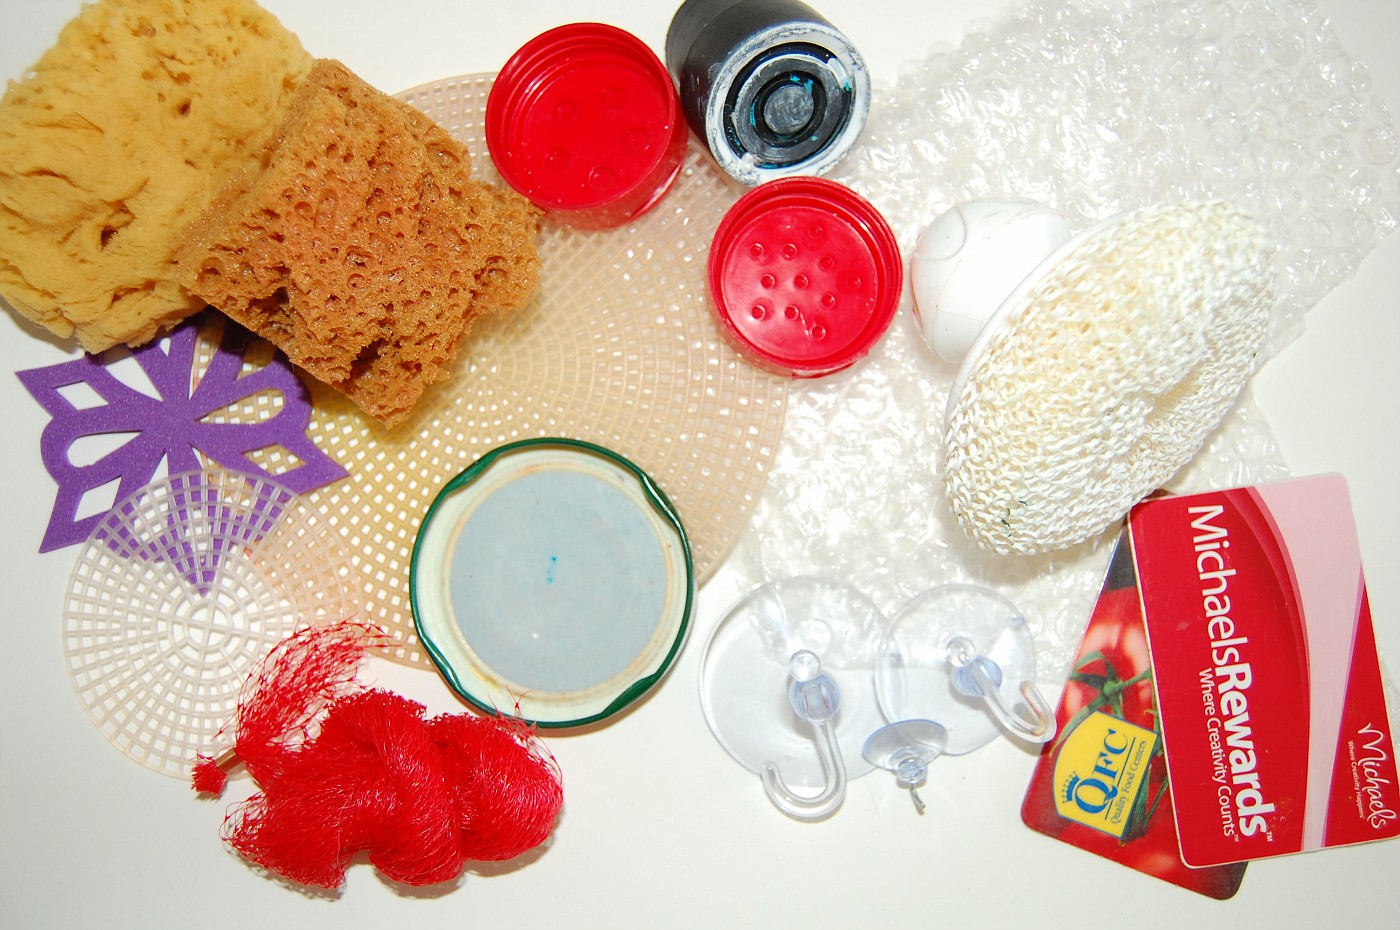
You already have a lot of "art supplies" around the house, it is just a question of seeing past what the items where intended for and seeing the possibilities of what they can become in your art studio. In the photo above you will see several items that normal people would have put in the trash bin. But we are not normal, we are art journalers.

In the photo you see a couple of old spice container lids, a jar lid, bubble wrap, sponges, a fruit bag, a foam snowflake, some plastic canvas, a dish scrubber, and more. Right now you are probably thinking "how on earth am I going to use this in my journal". Well, the lids make some awesome circles when dipped in paint and then "stamped" onto your page. Take a paint brush and apply paint to the bubble wrap and then "stamp" it to your page, it makes some great textures. The plastic canvas is fantastic when you use homemade spray paint. The sponges and the fruit bag also make cool textures.

Use your imagination! Take a walk through your house to see what you can find. Items that might otherwise end up in the trash. Look in your junk drawer, under the kitchen sink, the garden shed. And your kids room is probably full of wonderful items. And I am sure they wont mind you 'borrowing' a couple of legos.

Other items that might be interesting: fabric with a lot of texture, foam earplugs, pipe cleaners, rubber bands, doilies, etc.

REMEMBER: Trashures ARE Art Journaling for Less!

Please share in the comments what items you have found in your house.

Saturday, May 26, 2012

Glitter is a must...

I love to add glitter to my pages. It just adds that final touch to any page. And you can add a little or you can add a lot. There are a lot of different products that you can buy to add your sparkle. You can of course buy the little vials with glitter. Add glue to your page and then sprinkle your glitter onto your glue, or add the glitter to wet paint. However, that can become such a mess. Glitter everywhere for years to come. This is probably a reason why some people stay away from glitter.

I personally use two different types of glitter.

1: FolkArt Extreme Glitter from Plaid.
These are sold most anywhere in the US. Walmart carry most of the colors. And they are priced around $2 for 2 oz.
You can apply them just as you would any acrylic paint. Use a small brush, use your fingers, or apply any other way you prefer. The "paint" goes on as a milky white paint, but will dry clear so only the glitter shows.
You can get these at HofCraft for less than $2

2: Glitter Glue.
You can get these from various manufacturers. Crayola, Elmer's, and Cra-Z-Art, are just a few that I have used. Martha Stewart also sell glitter glue.
Prices on glitter glue varies a great deal. Here is a small list that I have compiled.
Martha Stewart: 4ct for $9.99 at Scrapbook.com The packs come in various sizes, colors, and prices.
Crayola: 5ct for $5.06 at Walmart.com Come in different colors as well.
Elmer's: 10ct for $4.88 at Walmart.com
Cra-Z-Art: 10ct for $2 at Family Dollar

I really suggest you check your local dollar store, dime store, or other discount store you might have. And get the cheapest you can find, and try it out.

Several of these glitter glue pens say they will dry raised or as 3D, but if you dont care for that, you can "smear" the glue with a finger to make it more flat when you apply it.

Thursday, May 17, 2012

A Beginner Art Journaling Kit

If you have been art journaling for a while you will probably already have build up a nice stash of items that you always use. Your "go to" stash. And if you are just a little bit like me your actual stash of supplies is much larger than what you really need. In this post I will try to narrow the list down to a reasonable size for someone who is just beginning. Call it your beginner art supply stash if you like.
This will in no way be a complete list and the items listed will not be required to have to be able to art journal. It is just those few items that I can not live without.

1: Journals
Most importantly you will need a journal. There are no specific journals that are required. You can use pretty much anything you like.
I have several different journals. Mostly because I like to work on various sizes depending on what I am wanting to make. I prefer a medium size. At least 7x8 inches. Sometimes I go larger and other times I go smaller. Largest one I am working in at the moment is 8x10.5 inches and the smallest is 5x7 inches. Choose a size that you feel comfortable with.
You can of course also use loose leaf papers. Then either just keep them in a binder or get the bound into a book when you are done.
I also prefer paper that is heavy enough that it can stand up to being covered in paint, glue, or sprayed with water. I prefer 140lbs hot press water color paper. It is smooth yet heavy. I believe the lightest paper I use is 90lbs mixed media paper.
For a beginner I suggest: A Strathmore Visual Journal, mixed media paper, and 9x12 inches. It is not the cheapest journals at around $10-15, but it is certainly not expesive either.Some Walmarts have begun carrying the Daler-Rowney mixed media journals and they cost about $10.

2: Colors
You will need to get some colors to add to your journals. I personally do not have a preference. One day I enjoy water colors and another acrylics, and sometimes I mix them all.

Water Colors: I bought a box of 24x12ml tubes of water colors by ArtCreation Expression at Hobby Lobby for about $17 I prefer tubes rather than pans (more about this later). I do have a small pan set with 12 colors.

Acrylics: Same as with the watercolors. I bought a pack of 24x12ml ArtCreation Expression at Hobby Lobby for about $17. Those are perfectly fine for a beginner until you decide if this a medium you want to explore further.

Coloring Pencils: As a beginner all you really need is a small pack of 12-24 pencils. You can read more about my coloring pencil preferences HERE.

Markers: I prefer Sharpie permanent markers. They are cheap and they work fine for my use.

Water color pencils and crayons: I use Loew-Cornell watercolor pencils and Derwent Inktense pencils. They are entirely different in price and quality. The Loew-Cornell are perfectly fine for art journaling, but if you want to splurge I suggest Derwent Inktense pencils. I bought a box of 12 for $36. Probably will never buy them again unless I find them really cheap AND 50%.
For watercolor crayons I use Staedtler Karat Aquarell and Caran d'Ache Neocolor II Artists' Crayons. The Staedtler crayons are perfectly fine for art journaling and are quite a bit cheaper than the Neocolors. Neocolors are wonderful crayons, but also expensive. I have seen packs of 15 at $34, but you can find them cheaper on Amazon. Something to consider when you want to splurge or maybe add to your Christmas or birthday wish lists.

3: Writing Tools
For writing you can use pretty much anything you are comfortable with. I like to use several different items depending on what I am writing.
This is a small list of what I use:
Sharpie permanent markers (many different colors)
Sharpie poster-paint markers (white, black, gold, and silver) Make sure they are water based.
Sakura Glaze (many colors, but most often I use black and white)
Sakura Pigma Brush (black)
Gel pens (black and white)
Glitter Gel pens (many colors)

4: Collage Fodder
I cut pictures from magazines, and because I art for me I dont worry about copyright. I most times wont share my art journal pages and I definitely will not profit from them, so I use magazine clippings.
I pretty much use any kind of paper I can get my hands on, but I will get into this further in a different article.

5: Adhesive
I use Modge Podge. Some people swear by it and others think it is the worst. I like it. For glue stick I use UHU stics. And sometimes I will use a tape runner from Tombow and also the Tombow liquid glue.

There are so many other items that you can use when art journaling such as tape, ribbon, stamps, spray ink, and much much more. I will get more into that later, but to begin with this is really all you need:

A journal (or loose leaf papers)
Colors (your preference)
Writing tools
Collage fodder
Adhesive


Have fun!

Coloring Pencils

There are SO many different brands out there that it would be impossible for me to try them all out, but I have tried a couple. I believe what people like are the pencils that are softer, because they give more pigment when you use them. So it is entirely a preference thing. And what you choose is entirely up to you.

The one that the "real artists" will tell you to buy is Prismacolor. They are actually pretty good, but they also cost anywhere from $.89 to $1.29 per pencil. That can become quite expensive if you use more than a few colors.

You can also get one that is slightly cheaper called Scholar Prismacolor. They are a bit less expensive. About $8 for 12 at Walmart. (I actually paid only $.10 for a pack of 12 due to a mark down error). Honestly I can not tell the difference between the two types. I tried using the color "Bleu Copenhagen" from both sets and even though there was a slight different in the actual color, the intensity was so close that I personally couldn’t tell the difference.

I use Crayola a lot and you can get a pack of 12 for about $3, depending on where you buy them. Sure they are not as 'soft' or color intense as Prismacolors, but for my purpose they work just fine.

Walmart also carries a line of products from Daler-Rowney called Simply Artist. A pack of 12 pencils will run about $7. Only issue with these are when they need sharpening. I have tossed a couple because they constantly break when you try to sharpen them.

I think when it comes to coloring pencils it is really all about how much you are willing to pay. And how much you use them. I use them a lot so I definitely prefer to pay as little as possible. I really don’t use them to make large pieces of art, I am using them more to add a few lines of color, some detail, etc. If coloring pencils are your preferred art supply and you plan on focusing on art made using coloring pencils then you will probably want to pay for the better quality rather than quantity.