Think about this word: Success. What does it mean to you?
In this challenge I would like you to make a page
1: where you journal about what the word means to you.
-or-
2: using a quote or poem as inspiration.
-or-
3: where you journal about the success you would like to achieve or maybe wish for others to achieve.
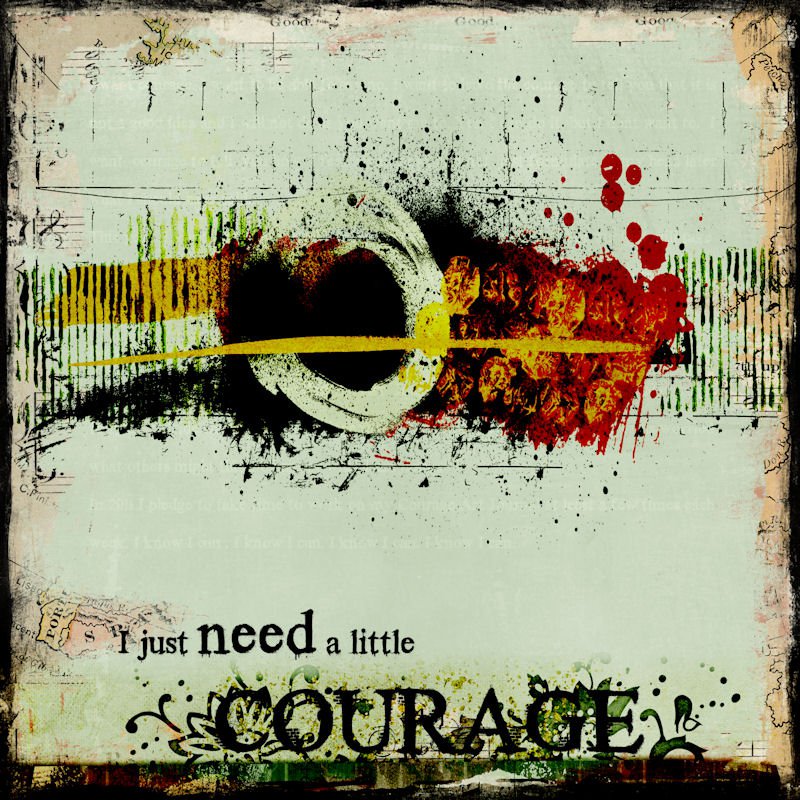
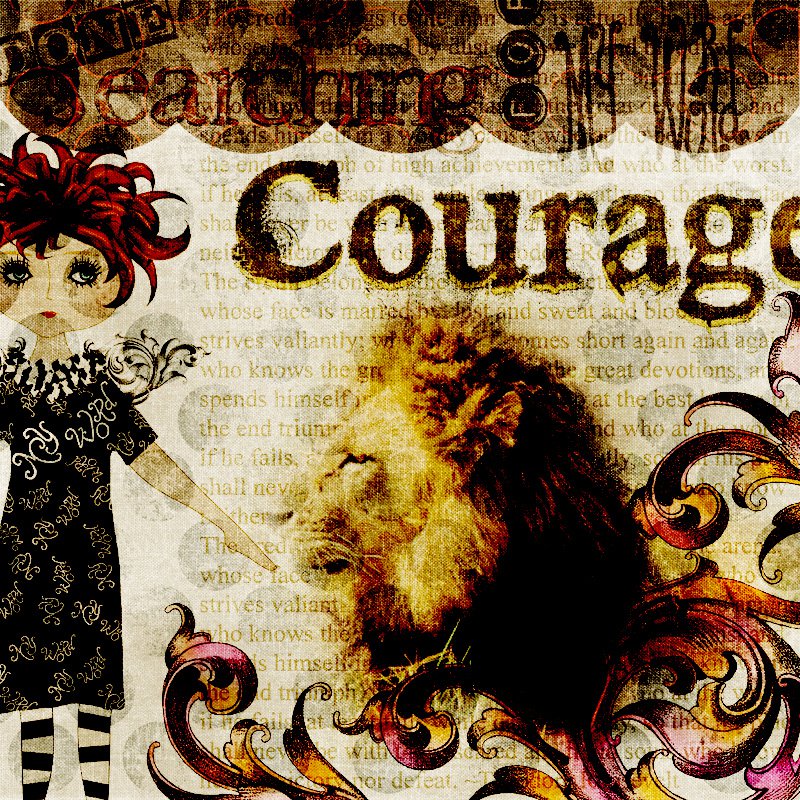
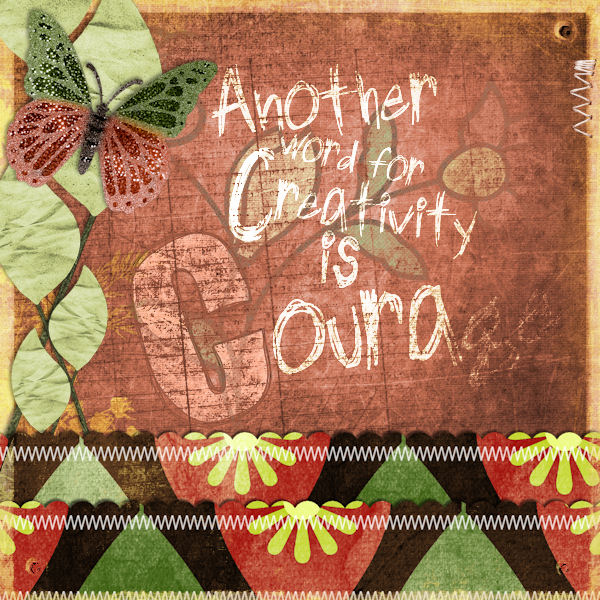
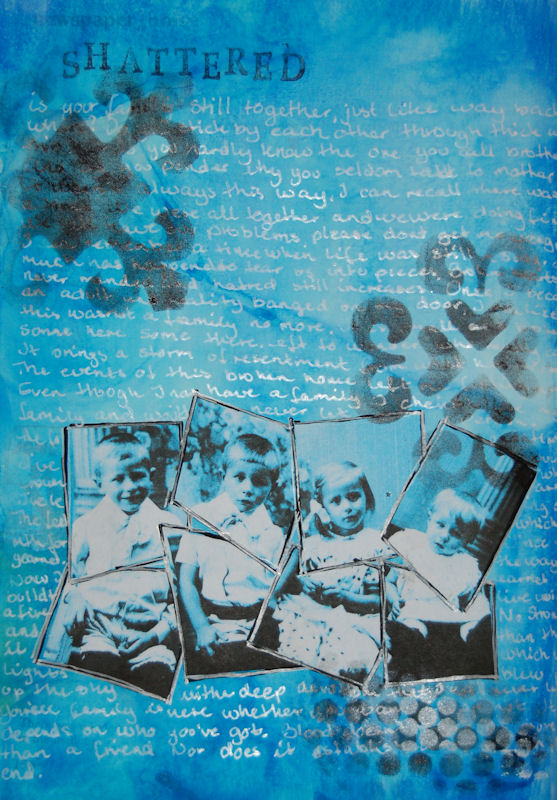
Feel free to read through the quotes, poetry, etc, below to use as your inspiration.
Success [link to Wikipedia]
Success - definitions:
1: obsolete : outcome, result
2:
a : degree or measure of succeeding
b : favorable or desired outcome; also : the attainment of wealth, favor, or eminence
3: one that succeeds
Titles:
1: Bittersweet Success
2: Color of Success
3: I'm the Most Successful Failure
4: Nothing Succeeds Like Success
5: Overnight Success
6: Sudden Success
Quotes:
1: Success comes in cans. Failure comes in can'ts. (Unknown)
2: Success is how high you bounce when you hit bottom. (General George S. Patton)
3: Success is measured not by what you gain, but what you overcome. (Unknown)
4: Success is to be measured not so much by the position that one has reached in life as by the obstacles which he has overcome. (Booker T. Washington)
5: There is only one success: to be able to spend your life in your own way, and not to give others absurd maddening claims upon it. (Christopher Darlington Morley)
6: Success is often the result of taking a misstep in the right direction. (Al Bernstein)
~~~~~~~~~~~~~~~~~~~~
True Success by C. Hoppe
I hope my achievements in life shall be these:
That I will have fought for what was right and fair,
that I will have risked for that which mattered,
that I will have given help to those who were in need,
That I will have left the earth a better place for what I've done and who I've been.
~~~~~~~~~~~~~~~~~~~~
~~~~~~~~~~~~~~~~~~~~
Success by Ralph Waldo Emerson
To laugh often and love much,
to win the respect of intelligent persons and the affection of children,
to earn the approbation of honest citizens and endure the betrayal of false friends,
to appreciate beauty,
to find the best in others,
to give of one's self,
to leave the world a bit better, whether by a healthy child, a garden patch or a redeemed social condition,
to have played and laughed with enthusiasm and sung with exultation,
to know even one life has breathed easier because you have lived,
this is to have succeeded.
~~~~~~~~~~~~~~~~~~~~
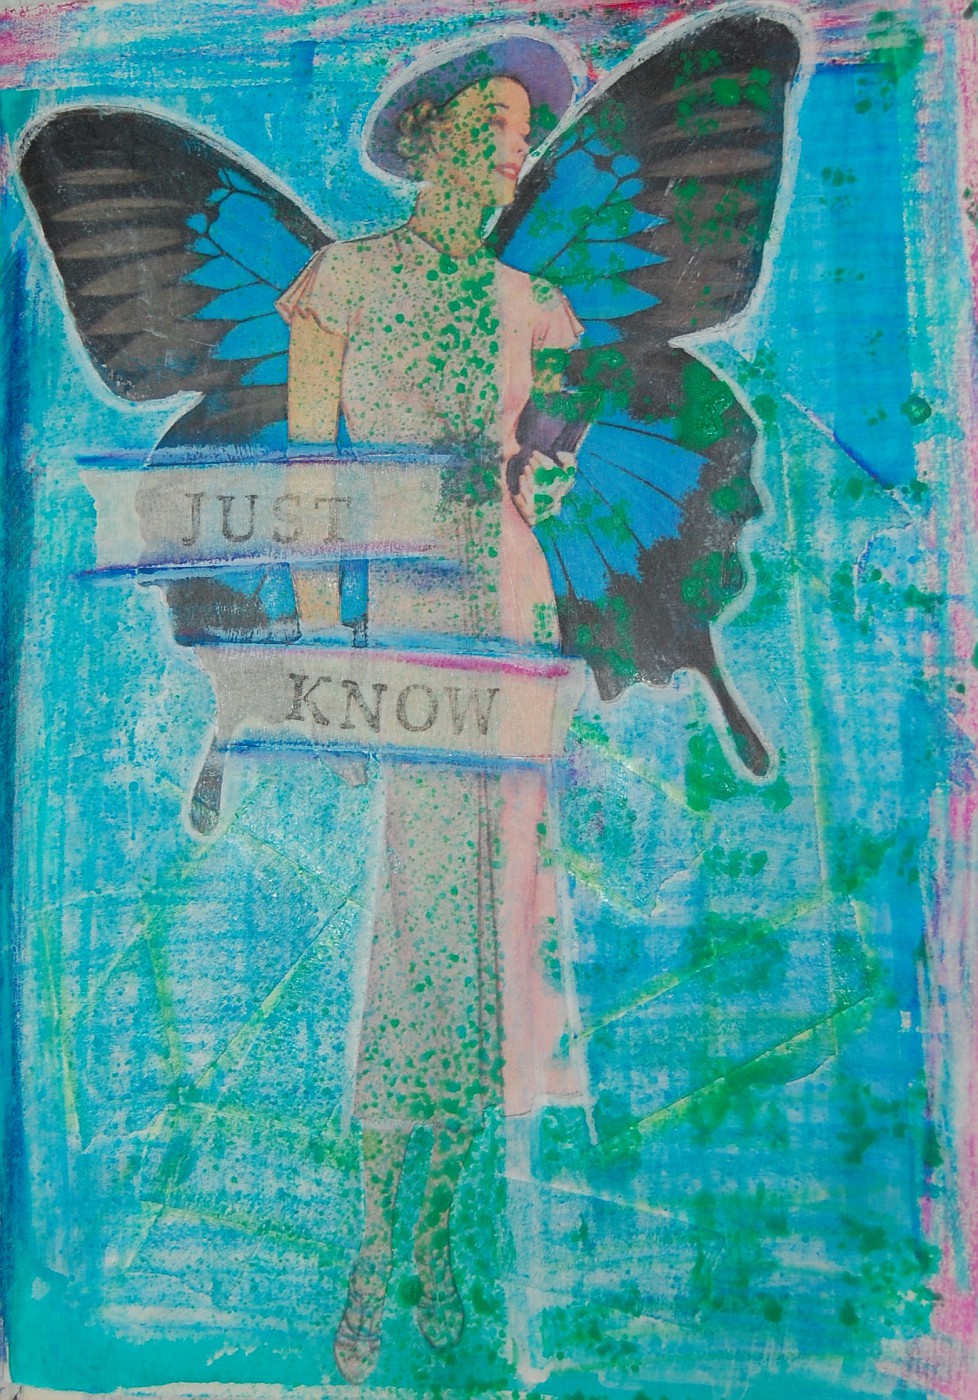
I hope you have fun doing this challenge.
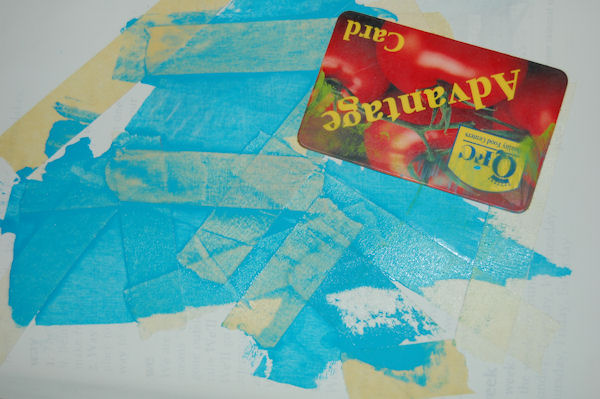
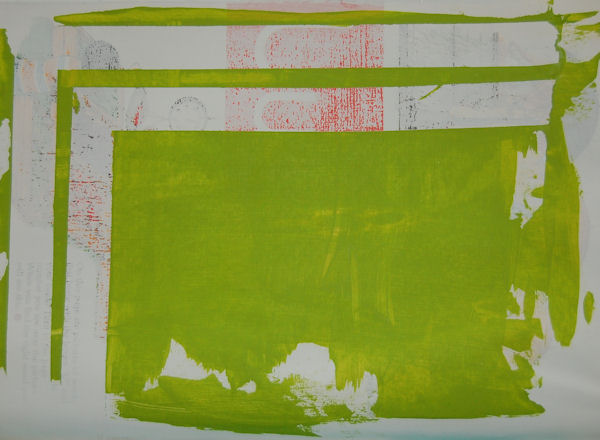
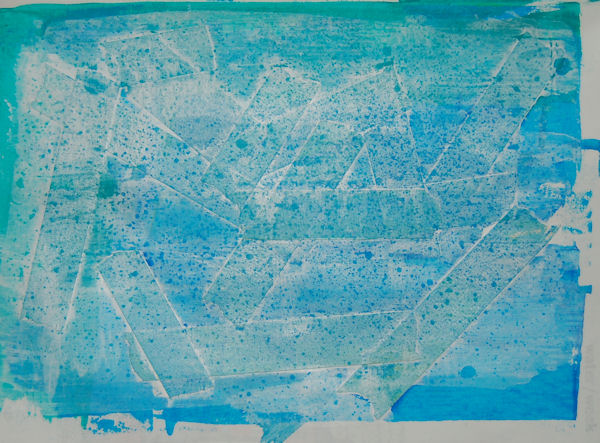
REMEMBER: Art Journaling is not about the beginning or the end. It is all about the process. The Journey!
And if you feel up to it, please share pictures of your art journal pages at our Flickr gallery HERE